

The easiest Christmas drawings are built from three shapes you already know: a triangle becomes a tree, three circles become a snowman, and a rectangle with a bow becomes a gift. Below are 12 simple Christmas drawings with numbered steps (the tree three ways, plus a star, snowman, bell, gingerbread person, candy cane, ornament, stocking, gift, Santa hat, reindeer and poinsettia), with tips for kids and adults, coloring ideas and how to turn a finished drawing into a card.
One Link for the Whole Family Gallery
A free VISU Link page at a short visu.to address, where you can share photos of the drawings and cards your family made this Christmas.
The Shape Trick Behind Every Drawing
Every drawing in this guide starts the same way: you sketch one or two big, simple shapes lightly, then add the small parts on top. Light lines are the whole secret. If the first circle comes out lopsided, you draw a better one over it and erase the extra later. Nobody sees the guide lines once the outline is inked or colored.
You need very little: a pencil (an HB or a 2B works well), an eraser, plain paper, and something to color with. A black felt pen or fine marker for the final outline makes any drawing look finished, even when the shapes underneath were wobbly.
| Drawing | Starting shapes | Difficulty |
|---|---|---|
| Christmas tree | Triangle, or three stacked triangles, or a zigzag | Very easy |
| Star | Five straight lines without lifting the pencil | Easy |
| Snowman | Three circles, small on top | Very easy |
| Bell | A dome and a wide curve | Easy |
| Gingerbread person | Circle head, rounded body, four rounded limbs | Easy |
| Candy cane | A tall rectangle with a hook | Very easy |
| Ornament | Circle and a small rectangle cap | Very easy |
| Stocking | A boot shape (an L with rounded corners) | Easy |
| Gift | A square or a cube, plus a bow | Easy to medium |
| Santa hat | A curved triangle, a band and a pompom | Easy |
| Reindeer face | An upside-down egg, two ears, branching antlers | Medium |
| Poinsettia | A small circle and pointed leaf shapes around it | Medium |
If you have never drawn before, start with the tree, the snowman, the ornament and the candy cane. They need only circles, triangles and straight lines, and they look right even when the proportions are a little off. If you would like more simple, non-seasonal subjects for practice afterwards, our list of easy drawing ideas works the same way.
How to Draw a Christmas Tree Three Ways
The tree is the drawing most people look for first, and there is more than one easy way to do it. Pick the version that matches the time you have and the age of whoever is holding the pencil.

Version 1: the one-triangle tree (about 2 minutes)
- Draw a tall triangle in the middle of the page. Make the bottom edge a little wider than half the height.
- Under the center of the bottom edge, draw a small rectangle for the trunk.
- Draw a few gently curved lines across the triangle, sloping down from left to right. These are the garlands.
- Add small circles along the garlands for ornaments.
- Draw a five-point star on the top point (the star steps are in the next section).
Version 2: the stacked tree (about 5 minutes)
- Draw a small triangle at the top of the page.
- Draw a slightly wider triangle that starts halfway down the first one, so the two overlap.
- Draw a third, widest triangle the same way. Erase the lines hidden behind each upper layer.
- Change the straight bottom edge of each layer into a row of small scallops or a zigzag. This one change makes it look like branches.
- Add a rectangle trunk, then a pot or a box under it if you like.
- Decorate with ornaments, a star and a few gifts at the base.
Version 3: the zigzag tree (about 3 minutes)
- Draw a straight vertical line lightly as a guide for the center.
- Starting at the top, draw a zigzag that moves down and outward on both sides of the line, getting wider with each step, like a staircase on each side.
- Join the two lowest points with a short line and add the trunk below.
- Erase the center guide line.
- For a modern look, leave it as a single-color outline. For a playful look, draw a spiral of dots for lights from top to bottom.
All three versions work as the front of a card. The zigzag tree is also a good choice for drawing in one continuous line, which adults often enjoy as a quick warm-up.
Star, Snowman and Bell
Star
- Imagine five points spaced evenly around a circle, roughly where the numbers 12, 2, 5, 7 and 10 sit on a clock face.
- Start at the bottom left point and draw a straight line up to the top point.
- From the top, go down to the bottom right point.
- From there, go up to the far left point, then straight across to the far right point.
- Close the shape by drawing back down to where you started. That is a five-point star in one stroke.
- For a solid star, erase the lines inside the middle pentagon and color the whole shape.
Snowman
- Draw a large circle near the bottom of the page.
- Draw a medium circle sitting on top of it, overlapping a little.
- Draw a small circle on top for the head. Erase the overlapping lines.
- Add two dots for eyes, a small triangle for a carrot nose and a curve of dots for a smile.
- Draw three dots down the middle circle for buttons.
- Draw two stick arms with three small twig fingers each.
- Finish with a scarf (two bands around the neck and one hanging end) and a top hat (a rectangle on a flat brim).
Bell
- Draw a dome like an upside-down U, narrow at the top.
- Let both sides flare outward at the bottom.
- Connect the two flared ends with a wide, gentle curve that bends downward.
- Draw a small circle peeking out under the curve. That is the clapper.
- Add a small loop on top and a bow with two hanging ribbons.
- Draw a second bell overlapping the first and tie them with one bow for a classic pair.
Gingerbread, Candy Cane, Ornament and Stocking
Gingerbread person
- Draw a circle for the head.
- Under it, draw a rounded body that is a bit wider than the head.
- Add two short, rounded arms sticking out sideways and two rounded legs at the bottom. Think of a plus sign with soft ends.
- Erase the line between head and body so the outline is one continuous cookie shape.
- Draw a wavy line just inside the edges of the arms and legs. That is the icing.
- Add dot eyes, a curved smile and two or three round buttons down the middle.
Candy cane
- Draw two parallel vertical lines close together for the stick.
- At the top, curve both lines over to one side to make a hook, keeping them the same distance apart.
- Close the bottom and the end of the hook with short rounded lines.
- Draw diagonal stripes across the whole cane, all tilted the same way.
- Color every other stripe red. Candy canes are typically white with red stripes, so leaving the paper white for the rest is enough.
Ornament (bauble)
- Draw a circle. Tracing a cup or a lid is fine and gives a perfect round shape.
- Draw a small rectangle on top for the cap and a small loop above it.
- Draw two or three curved bands across the ball.
- Fill each band with a different pattern: dots, zigzags, small stars or stripes.
- Add a short curved white mark on one side for a shine.
The ornament is the best place to practice patterns. If you want more ideas to fill the bands, our guide to easy patterns to draw has plenty of simple repeats.
Stocking
- Draw a tall rectangle for the leg of the stocking.
- At the bottom, add a rounded foot pointing to one side, like a boot.
- Round off the heel and the toe so there are no sharp corners.
- Draw a wide band across the top for the cuff and a small loop on one corner for hanging.
- Decorate it with stripes, a heel and toe patch in another color, or a name written on the cuff.
Gift, Santa Hat and Reindeer
Gift box
- For a flat gift, draw a square. For a 3D gift, draw a square and then a second square of the same size, shifted up and to the right.
- For the 3D version, connect the matching corners with short diagonal lines and erase the hidden back lines.
- Draw two parallel lines down the middle of the front for the ribbon, and two across.
- For the bow, draw two loops on top, like a sideways number 8, with a small knot in the middle.
- Add two short ribbon tails hanging from the knot.
Santa hat
- Draw a wide, flat rounded rectangle at the bottom. This is the white fur band.
- From the two ends of the band, draw a curved triangle that leans over to one side, like a cone that is falling.
- Let the tip droop down past the side of the hat.
- Draw a fluffy circle on the tip for the pompom, using a bumpy line instead of a smooth one.
- Give the band the same bumpy edge so it looks soft, then color the cone red.
Reindeer face
- Draw an upside-down egg shape: wide at the top, narrower at the bottom.
- Draw a large circle overlapping the bottom of the egg for the nose. Make it red if you want a famous reindeer.
- Add two eyes about halfway up, with a small white dot in each for a shine.
- Draw two leaf-shaped ears on the upper sides of the head, angled outward.
- For each antler, draw a curved line going up and out from the top of the head, then add two or three short branches off it, like a small tree branch.
- Thicken the antler lines into a double outline and color them a light brown.
The reindeer is the hardest drawing here because the antlers need to match. A trick that helps: draw one antler, then turn the paper upside down to check the second against it. Mismatches are easier to spot from a new angle.
Share Every Drawing From One Address
Photograph the drawings, add them to a free VISU Link page and send the family one short link. You can change the page later without sending a new one.
Poinsettia and Ideas From Warmer Christmases
Poinsettia
The poinsettia is a good choice when you want a Christmas drawing that is not tied to snow. The plant is native to Mexico and Central America, and in Mexico it is called flor de nochebuena, the Christmas Eve flower.
- Draw a small circle in the middle. Fill it with a cluster of tiny dots or circles for the yellow flower buds.
- Around the circle, draw five or six long pointed leaf shapes, like stretched diamonds, spaced evenly.
- Draw a second layer of five or six pointed leaves between and behind the first ones.
- Add a center line down each leaf and a few short side veins.
- Add two or three green leaves peeking out from the back.
- Color the front leaves red, the back leaves green and the center yellow.
If petals around a center feel tricky, the method in our guide on how to draw a flower starts from the same circle and builds outward.
Summer Christmas ideas
In the Southern Hemisphere, including Brazil, Christmas falls in summer, so snowmen are not the only option. These ideas use the same shapes as above:
- Santa on the beach: draw the Santa hat from the previous section on a round sun with sunglasses, or on a simple figure in shorts sitting under a beach umbrella (a half circle on a stick).
- Palm tree with lights: draw a slightly curved trunk made of stacked short rectangles, a fan of long pointed leaves at the top, then a string of small circles for lights wrapped around the trunk.
- Christmas fruit bowl: a half circle for the bowl filled with circles and ovals of different sizes. Christmas Eve dinner in Brazil often includes an assortment of fruit, so this is a familiar table scene.
A piñata star
In Mexico, piñatas are part of the December posadas, and the traditional shape is a star with seven points. To draw one, sketch a circle, then draw seven cone shapes pointing outward around it, evenly spaced. Add a small tassel at the tip of each cone and color each cone a different bright color.
Tips for Kids and Tips for Adults
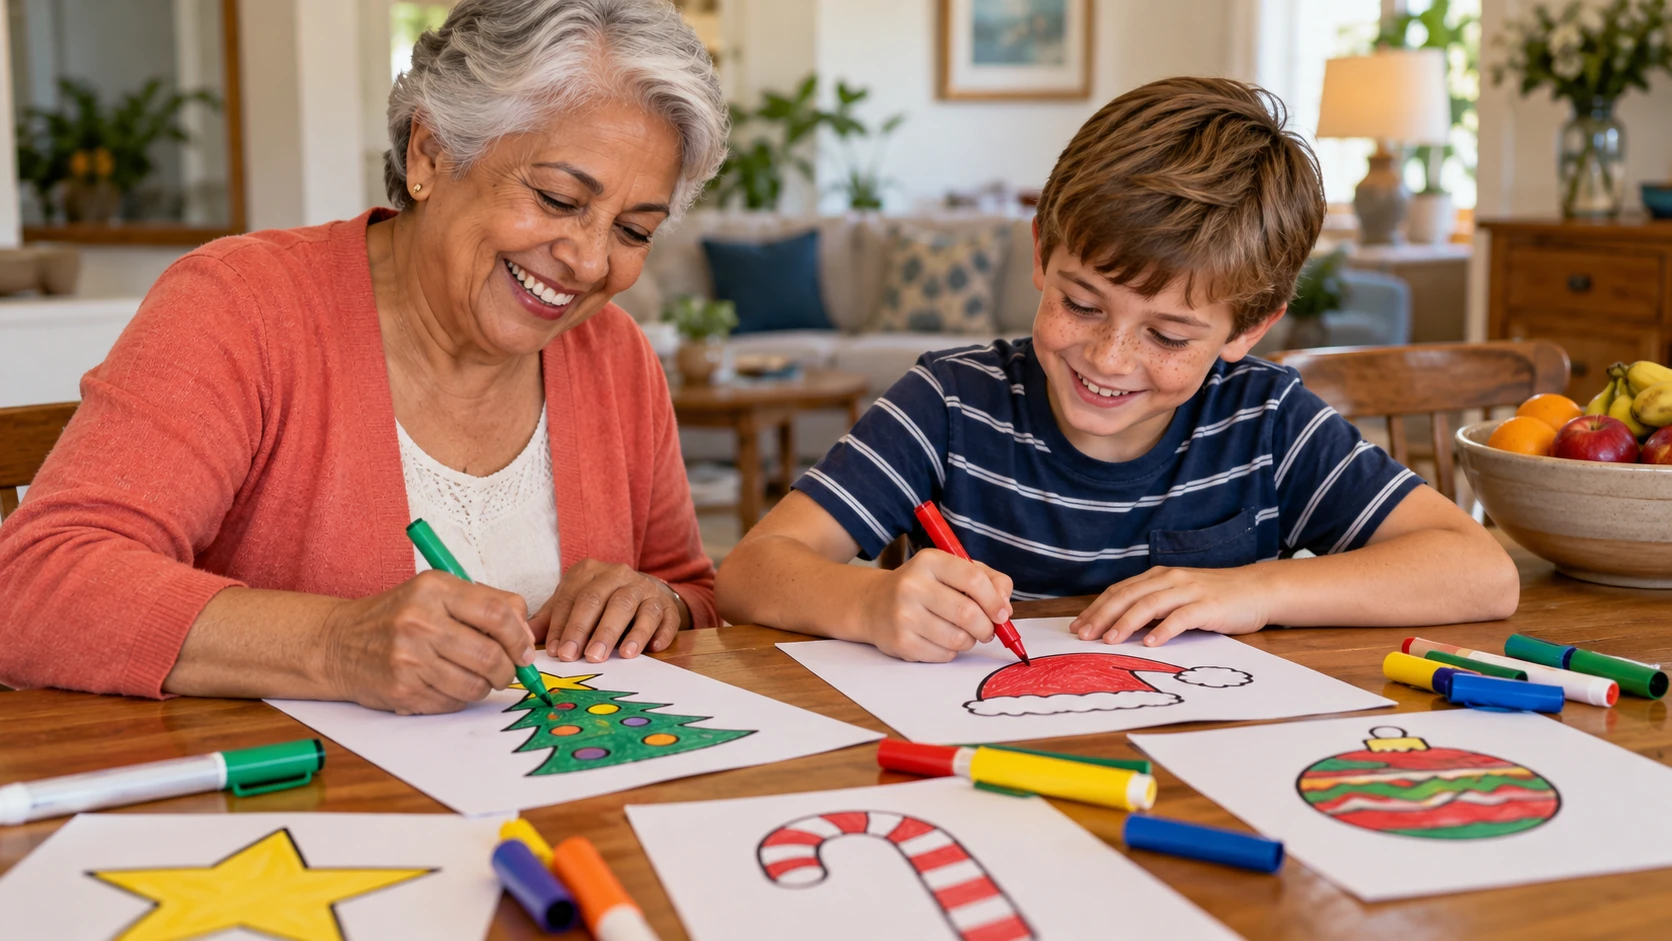
For kids
- Start with three: tree, snowman and ornament. All three are made from shapes young children already know.
- Trace to start: cups, lids and coins make perfect circles for ornaments, snowmen and pompoms. Tracing is a real drawing tool, not cheating.
- Say the shape out loud: "big circle, middle circle, small circle" helps younger children remember the order without a printed guide.
- Use thick tools: chunky crayons and washable markers are easier to hold than thin pencils. For very young children, the projects in our Christmas crafts for toddlers guide are a better fit.
- Praise the idea, not the line: a snowman with five arms is a creative choice.
For adults
- Draw lighter than you think: keep the first lines faint so you can correct them, then commit with ink.
- Limit the palette: two or three colors (red, green and gold, or blue and silver) look more deliberate than every color in the box.
- Try one line: draw the zigzag tree or the star without lifting the pen. It is a quick, relaxing warm-up.
- Repeat small: fill a page with ten tiny ornaments, each with a different pattern. Small, repeated drawings are a good way to unwind, much like the ones in our easy doodles guide.
- Set a timer: five minutes per drawing keeps it fun and stops you from overworking the details.
Coloring Ideas That Make Simple Drawings Pop
Color does most of the work in a simple drawing. A few choices make a big difference:
| Material | Best for | Tip |
|---|---|---|
| Colored pencils | Ornaments, gingerbread, poinsettia | Press lightly first, then go over again to darken edges |
| Markers | Candy canes, gifts, Santa hats | Color in one direction to avoid streaks |
| Crayons | Trees and snowmen for young kids | Leave white paper for snow and shine |
| Watercolor | Backgrounds, night skies | Use thicker paper so it does not wrinkle |
| Glitter glue or a gold pen | Stars, ornament bands, bows | Add it last and let it dry flat |
- Leave white on purpose: on a snowman, a candy cane or the shine of an ornament, the white of the paper is the color.
- Darken one side: shading the same side of every object (the right side, for example) makes flat shapes look round.
- Color the background: a dark blue sky behind a white snowman, or a warm yellow behind a red poinsettia, makes the main drawing stand out.
- Try a limited set: draw everything in black ink and color only one element, such as the star or the nose, in red or gold.
How to Turn a Drawing Into a Christmas Card
A drawing becomes a card with one fold. Fold an A4 or US Letter sheet in half across the long side to get a standard greeting card. Fold it in half twice to get a smaller card for a small envelope or a gift tag.
- Fold first, draw second: fold the paper before drawing, so the drawing ends up the right way up on the front.
- Keep the drawing in the center: leave a margin of about 1 cm (half an inch) around the edges so nothing gets cut off.
- Pick one subject: one tree, one ornament or one reindeer face reads better on a small card than a full scene.
- Make a set: draw the same simple design several times, each with different colors. Ornaments and candy canes are fast to repeat.
- Write inside: add a short message and the date, so the card stays a keepsake.
- Optional window card: draw on a separate smaller piece of paper and glue it to the front of a colored card for a framed look.
For more card shapes, such as pop-up and folded designs, see the cards section of our Christmas paper crafts guide.
One more idea: if relatives live far away, you can photograph the drawings and put them on a single page online. With a free VISU Link page, you get a short visu.to address and a QR code. Print the QR code small on the back of each card, and anyone who scans it with a phone camera opens the page with the whole family's drawings. Because you can edit the page anytime, you can keep adding new drawings without printing a new code.
Put a QR Code on the Back of Every Card
Create a free VISU Link page with photos of the family's drawings, then print its QR code on your handmade cards. No credit card needed.
Frequently Asked Questions
What is the easiest Christmas drawing for beginners?
A Christmas tree made from one triangle, a small rectangle trunk and a star on top. A snowman made from three circles is just as easy.
How do you draw a Christmas tree step by step?
Draw a tall triangle, add a small rectangle under it for the trunk, draw curved garlands across it, add small circles for ornaments and finish with a star on the top point.
How do you draw a star without a ruler?
Draw it in one stroke: from the bottom left up to the top, down to the bottom right, up to the far left, across to the far right and back to the start.
What Christmas drawings work for a summer Christmas?
Santa on the beach, a palm tree wrapped in lights, a fruit bowl, a poinsettia or a piñata star. None of them need snow.
How do I turn a drawing into a Christmas card?
Fold an A4 or Letter sheet in half, draw on the front with a margin of about 1 cm, and write a short message inside.