
A handmade ornament has to do one thing a painting does not: hang from a branch and survive the season. That single requirement decides most of the choices below, from how thick to roll the dough to where the hole goes.
Every project here is a hanging ornament for a tree, a window or a garland. Each one lists the materials, an estimated time, a stated difficulty, a suggested age and, because it matters more than it looks, exactly how to hang it. The materials are ordinary: paper, felt, twine, flour and salt, twigs, bottle caps and fabric scraps.
One Link for This Year's Ornaments
A short address you control, holding the photos of what you made and the instructions you want to find again next December.
Before You Start: Holes, Loops and Safety
Make the hole before anything dries or sets. This is the mistake that ruins the most ornaments. A hole punched in wet dough, folded paper or soft felt takes seconds. A hole drilled into a dry, painted star cracks it. Every project below tells you at which step the hole goes in.
Keep the loop short and the knot on the back. A loop about the length of your thumb hangs cleanly from a branch. Longer loops tangle and let the ornament spin to its bad side.
Safety, as practice rather than warning. Three habits cover almost everything in this article:
- Hot glue is for adults. The University of California's 4-H safety notes advise wearing heat resistant gloves and safety glasses, keeping the gun in a metal stand when not in use, never leaving a plugged in glue gun unattended, and plunging skin that touches hot glue straight into cold water. Children glue with white craft glue or a glue stick and hand the piece over for the one hot join.
- Small parts stay away from small children. Penn State Extension's Better Kid Care guidance lists items that should not be accessible to children under three, including magnets, coins, balloons, styrofoam objects and glitter, and notes that small objects are a choking risk for children under three and for any child who still puts things in their mouth. Bottle caps, beads and buttons belong in the projects marked for older children.
- No real candles near ornaments. Prince William County's fire safety guidance is direct: never use lit candles to decorate the tree, and never leave a candle unattended. Every "candle" in this article is a shape, not a flame.
Ages given per project are suggestions for who can do most of the steps alone. "4+ with adult" means an adult does the cutting or the hot join and the child does the rest.
Paper Ornaments
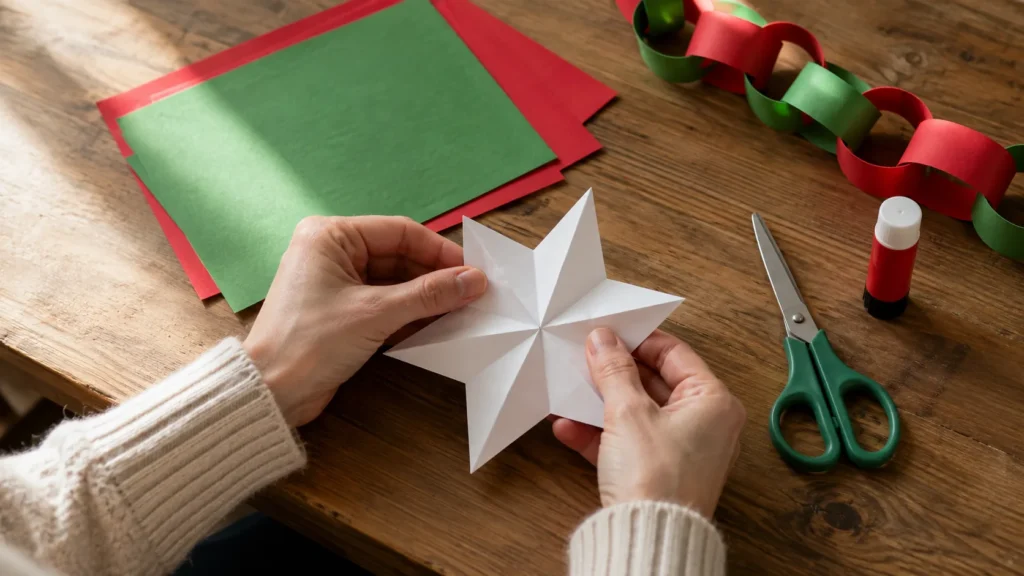
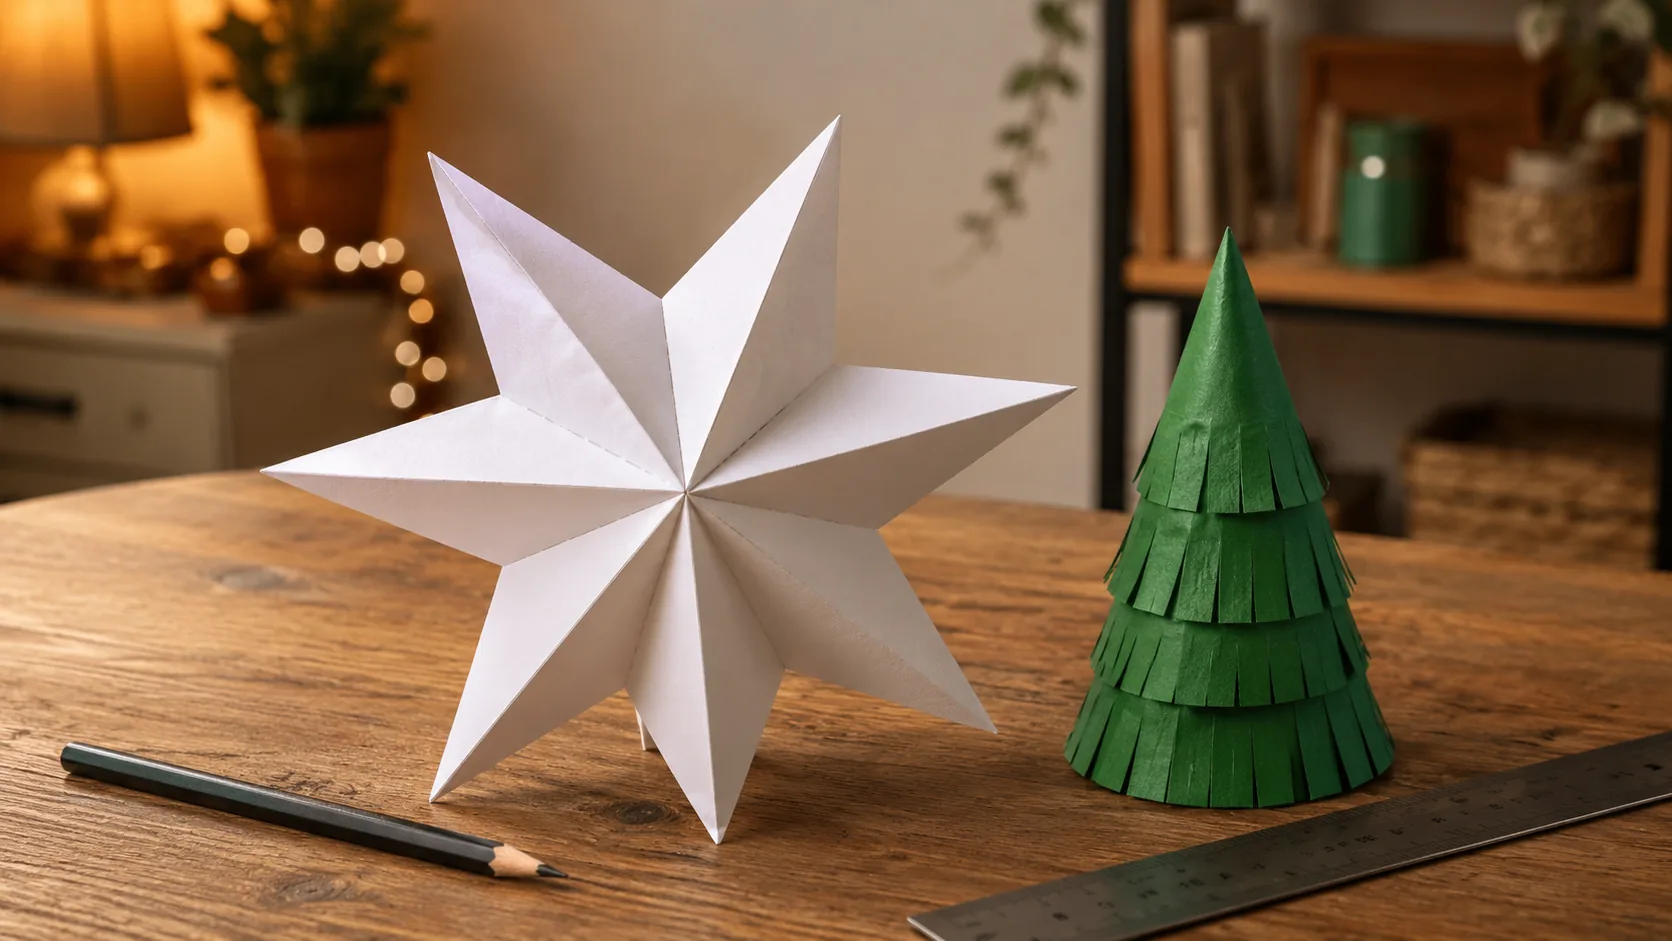
1. Folded paper star. Materials: five squares of paper the same size, glue stick, thread. Time: about 20 minutes. Difficulty: easy. Age: 8+, or 6+ with adult help on the folds. Fold each square in half diagonally, open it, then fold two adjacent edges to the centre crease to make a kite shape. Fold the kite in half along the crease so the folded edges are outside. Repeat for all five. Glue the flat backs of the five pieces together side by side, points outward, so they fan into a star. Thread a needle, pass it through one point, and tie a loop. Hang from the point.
2. Paper strip sphere. Materials: six strips of paper about the width of two fingers and as long as your hand, a paper fastener or a needle and thread, string. Time: about 15 minutes. Difficulty: easy. Age: 6+ (paper fastener) or 8+ (needle). Stack the strips and push a paper fastener or a threaded needle through one end of the stack. Fan the strips out evenly like the spokes of a wheel. Bring the free ends up and together and fasten them at the top the same way, so the strips bow outward into a sphere. Tie the hanging loop through the top join. If the sphere looks lopsided, slide the strips until the gaps are even.
3. Rolled paper cone tree. Materials: a quarter circle of paper, glue stick, a scrap of string. Time: about 10 minutes. Difficulty: very easy. Age: 4+ with adult. Curl the quarter circle into a cone and glue the overlap. Knot one end of a short string, thread it up through the tip from inside so the knot stops it, and tie a loop at the top. The child can colour or stick paper scraps on the flat paper before it is rolled, which is easier than decorating a cone.
Felt and Fabric Ornaments
4. Stacked felt tree. Materials: green felt, a twig or a cocktail stick, twine, white glue. Time: about 30 minutes. Difficulty: easy. Age: 6+ with adult for the twig. Cut felt into circles of decreasing size, from about the size of your palm down to a fingernail. An adult trims a twig to about the height of the stacked circles. Poke a small hole in the centre of each circle with the twig's point. Put a drop of glue on the twig, slide on the largest circle, then the next, and so on, until the tree is built. Tie twine around the top of the twig for the loop. The twig is the hanging point, so make sure it is tied tightly.
5. Stuffed felt heart or star. Materials: two pieces of felt, embroidery thread or yarn, a needle, scrap fabric or cotton wool for stuffing, ribbon. Time: about 40 minutes. Difficulty: medium. Age: 8+. Cut two matching shapes. Fold a short length of ribbon into a loop and sandwich its ends between the two shapes at the top. Sew around the edge with a running stitch or blanket stitch, catching the ribbon ends as you go, and stop about a thumb's width before you close the shape. Push in the stuffing, then sew the gap closed. The loop is sewn in, not glued on, which is why this one survives many seasons.
6. Fabric strip wreath. Materials: a ring cut from cardboard about the size of a coffee cup rim, strips of fabric scraps, white glue, twine. Time: about 25 minutes. Difficulty: easy. Age: 5+. Tie the twine loop around the cardboard ring first. Then wrap fabric strips around the ring, overlapping each pass, and glue the ends on the back. Keep wrapping past the twine so the loop looks like it grows out of the wreath. Mixed prints look intentional; a single colour looks like a shop bought ring, which is not the point.
Keep the Instructions With the Photos
Put the projects you finished and the steps you changed behind one address, so next year starts where this one ended.
Salt Dough Ornaments
Salt dough is the classic because it takes any shape, any stamp and any paint. It is also where the "make the hole first" rule matters most.
The dough. Mix two cups of plain flour with one cup of fine salt. Add three quarters of a cup of water a little at a time, mixing until the dough holds together and is not sticky. Knead on a floured surface until smooth. If it cracks, add water by the teaspoon; if it sticks, add flour. It should feel like firm modelling clay. This is a working recipe, not a rule: humidity and flour vary, and the feel of the dough is the test.
Drying. Two ways. Air dry on a rack for several days, turning once a day, until the piece is hard and sounds dry when tapped. Or bake in a low oven, the lowest setting your oven has, for a few hours, checking every hour and turning once. Too hot an oven puffs the dough and browns it, so lower and longer is always better. Thin pieces, about the thickness of a biscuit, dry evenly; thick ones crack.
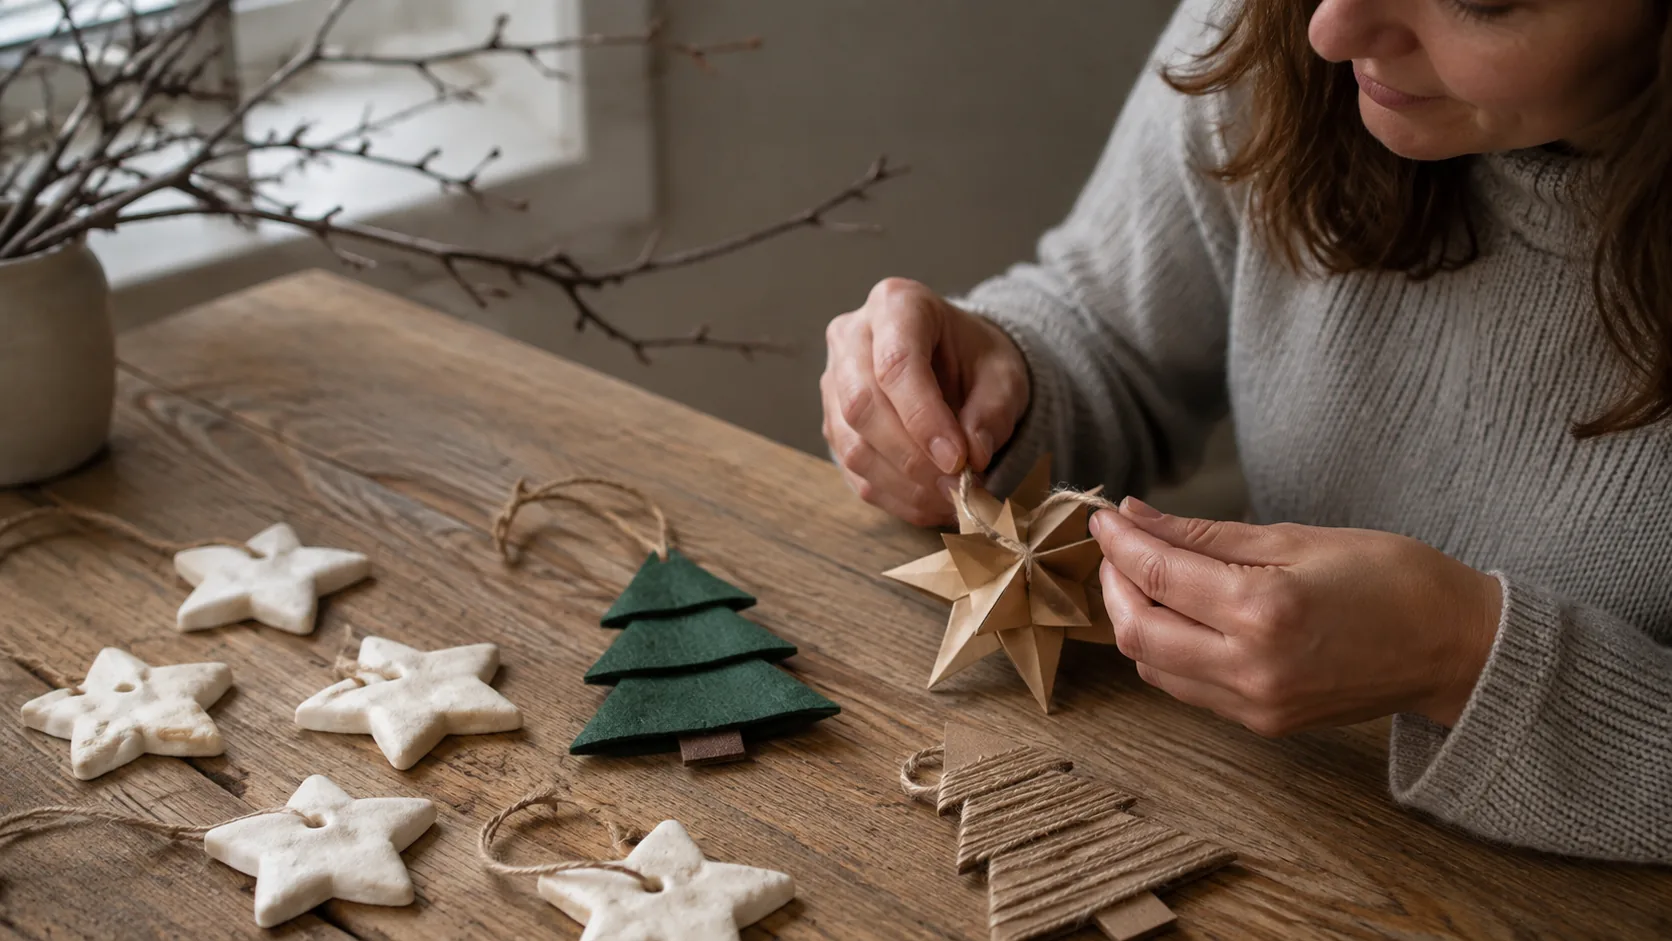
7. Stamped cookie cutter shapes. Materials: salt dough, a rolling pin, cutters or a glass, a drinking straw, paint, twine. Time: about 30 minutes plus drying. Difficulty: easy. Age: 4+ with adult on the oven. Roll the dough to biscuit thickness. Cut shapes. Press textures into the surface with a fork, a lace scrap, a leaf or the end of a pencil. Use the straw to punch the hanging hole near the top edge, at least a finger's width in from the edge so it does not break through. Dry. Paint if you like, then thread twine through the hole.
8. Handprint or footprint disc. Materials: salt dough, a straw, paint, ribbon. Time: about 20 minutes plus drying. Difficulty: easy. Age: any age with an adult doing the pressing. Roll a disc a little larger than the hand. Press the hand firmly and evenly into the dough, then lift straight up. Punch the hole with the straw above the fingers. Dry slowly, because a large flat disc is the shape most likely to warp. Paint the print or leave it plain and write the year on the back in pencil after drying.
Twine, Yarn and String
9. Twine wrapped cardboard shape. Materials: cardboard, twine or yarn, white glue, scissors. Time: about 20 minutes. Difficulty: easy. Age: 5+. Cut a simple shape from cardboard: a star, a heart, a tree or a plain circle. Cut a small notch at the top for the hanging loop. Glue the end of the twine to the back and wrap tightly, changing direction every so often to cover the corners. Glue the finishing end on the back. Tie the loop through the notch. Two colours of yarn, switched halfway, give a stripe with no extra skill.
Twigs, Bottle Caps and Found Things
10. Twig star. Materials: five straight twigs of similar length, twine. Time: about 15 minutes. Difficulty: medium. Age: 8+, or adult. Lay the twigs in a five point star, each twig crossing over one and under the next. Bind each crossing with a few tight wraps of twine and a knot. The star will feel loose until the last crossing is tied. Tie a loop at one point. Larger twigs make a window star; short ones make a tree ornament.
11. Bottle cap snowman. Materials: three metal or plastic bottle caps, ribbon, white glue or hot glue, paint pen or marker, a scrap of fabric. Time: about 20 minutes. Difficulty: easy. Age: 8+ for the caps; adult for hot glue. Line the three caps up on a length of ribbon, open side down, with a loop left at the top, and glue them to the ribbon. Draw a face on the top cap and buttons on the lower two. Tie a thin strip of fabric between the first and second cap as a scarf. Caps are small parts, so this project stays on the older children's table.
12. Cinnamon stick bundle. Materials: three cinnamon sticks or three short twigs, twine, a sprig of dried greenery. Time: about 5 minutes. Difficulty: very easy. Age: 5+. Bundle the sticks, wrap twine around the middle several times, knot, and tie a loop from the same twine. Tuck the greenery under the wrap. The scent is the decoration.
How to Hang Them So They Stay Up
Match the loop to the branch. A loop of sewing thread holds paper. Felt and dough want twine or ribbon. Anything with a cardboard core is light enough for thin outer branches; salt dough goes on the stronger inner ones.
On a window. Tie ornaments at different heights along a single length of twine, then fix the twine across the top of the window frame with tape or a pin on each side. Paper stars and twig stars are the ones that look best against light.
Keep everything away from flame and heat. Paper, felt, twine and dried greenery all burn. Prince William County's guidance to never use lit candles on the tree and to keep candles at a distance from anything that burns applies to every ornament in this article.
Keeping Them for Next Year
Photograph them hanging before the tree comes down. The photo is the record of which ornament was whose and which year it was made, and it is easier than writing on the back of a paper star. If your photos of small objects always come out flat, the basics in our photography for beginners guide, especially the part on light from a window, help more than a better phone would.
Salt dough is the one that needs care. It softens in damp air. Pack it in a lidded box with a sheet of paper between layers, and store it somewhere dry rather than in a garage or a loft that gets cold and damp.
Save the Ornaments Behind One Link
The photos, the recipe you tweaked and the list of who made what, in one place you can share with the family.
FAQ
What is the easiest Christmas ornament to make?
The cinnamon stick bundle and the rolled paper cone tree: each takes a few minutes, needs no drying and has the hanging loop built into the first step.
How do I make salt dough ornaments?
Mix two cups of flour with one cup of salt, add about three quarters of a cup of water gradually until you have a firm dough, roll it to biscuit thickness, cut shapes, punch the hanging hole with a straw while the dough is soft, then air dry for several days or bake in the lowest oven setting for a few hours.
Can young children make hanging ornaments?
Yes, with an adult doing the cutting, the oven and any hot glue. The cone tree, the handprint disc and the stamped dough shapes are the ones where a four-year-old does most of the work. Keep bottle caps, beads and buttons for older children, following the small parts guidance from Better Kid Care.
How do I hang ornaments without hooks?
Tie a loop of twine or ribbon about the length of your thumb through the hole or notch and hang it straight over the branch. For a window, tie several ornaments along one string and fix the string across the frame.
Can I put real candles on the tree with handmade ornaments?
No. Prince William County's fire safety guidance says never to use lit candles to decorate the tree and never to leave a candle unattended, and paper, felt and twine ornaments are all things that burn.