

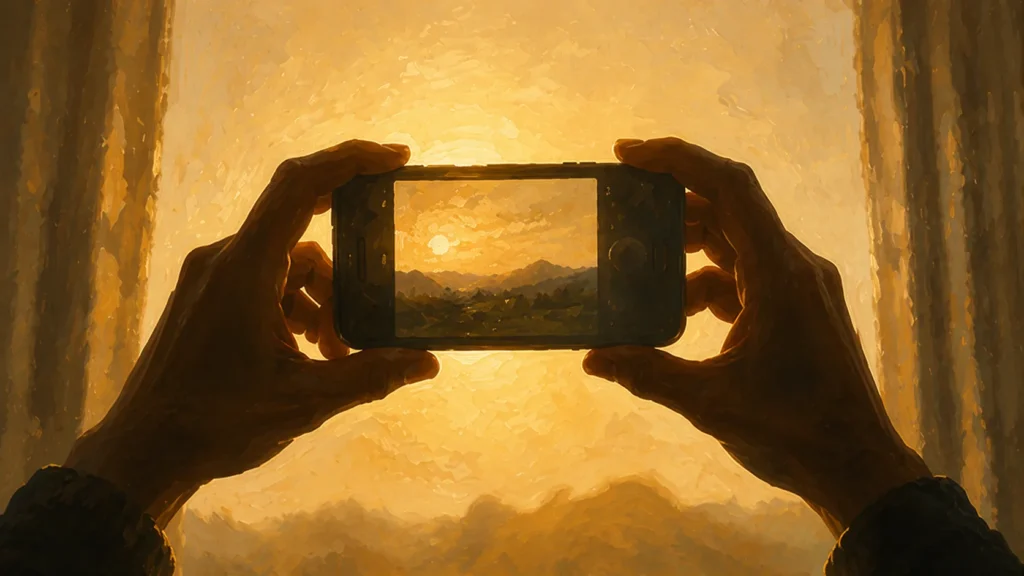
Light and framing come before settings. The exposure triangle is the third thing you need, not the first, and the phone already in your pocket is enough to start working on the first two.
Photography guides often open with aperture, shutter speed and ISO, presented as a triangle. That is a reasonable place to end up and a hard place to start, because it asks for technical commitment before you have taken a single deliberate photograph.
Those settings matter. They are also the third thing you need, not the first. What follows is the order that actually works: see, frame, then control the exposure.
One Link for Everything You Shoot
A short address you control, pointing wherever your photos already live.
The Camera You Already Have
You do not need a dedicated camera to practice the fundamentals on this page. A phone is enough to work on light, framing and timing, and every principle below applies to it unchanged.
Buying a camera early carries a cost worth knowing about: the new body arrives with menus, and attention shifts from photography to operating that specific machine. If you start on a phone and move to a camera later, you arrive knowing what you want the camera to do.
What a dedicated camera genuinely buys you: better low light, control over depth of field, faster autofocus for moving subjects, and lenses. Those are real advantages, and none of them decide what to point the camera at.
Learn to See Light First
Photography is recording light. Before technique, the useful skill is noticing what light is doing, because the same subject in different light produces very different photographs.
Three things to watch for:
Direction. Light from behind you falls across the subject and flattens visible shadow. Light from the side creates shadows, and shadows are what suggest three dimensions. Light from behind the subject produces silhouettes and rim lighting, which is harder to expose for.
Quality. Direct midday sun is hard light: sharp-edged shadows, high contrast, strong shadows under brows and nose. An overcast sky is soft light: gentle transitions, no harsh shadows. Neither is better. They suit different subjects.
Color. Light shifts warmer near sunrise and sunset, cooler in shade. Your eye compensates automatically and mostly ignores this. The camera does not, which is why photos sometimes look bluer or more orange than the scene felt.

A useful exercise: for one week, photograph nothing. Just notice, several times a day, where the light is coming from and whether it is hard or soft. It sounds like a wasted week and it changes how you see every frame afterwards.
Then Learn to Frame
Once you can see light, the next question is what to include. This is composition, and it can change a photograph without requiring any new equipment.
The starting point is deciding what the photo is about, then making sure nothing competes with it. A bin behind your subject's head, a bright patch in the corner, half a stranger at the edge: check for these before you shoot, because none of them require better equipment to fix.
We cover the full set of techniques in our guide to photographic composition, including the ones that matter most when you are starting out.
Only Then, the Settings
Now the triangle makes sense, because you have something to apply it to.
Aperture is how wide the lens opens. Wide (a low f-number like f/1.8) lets in more light and throws the background out of focus. Narrow (f/8, f/11) keeps more of the scene sharp. It is one of the main controls over depth of field, alongside your distance to the subject and the focal length you are using.
Shutter speed is how long the sensor is exposed. Fast (1/500s) freezes motion. Slow (1/30s and below) blurs it, which can be a mistake or a decision. At slower speeds handheld, camera shake becomes more likely; where that limit falls depends on focal length, your technique and whether the lens or body is stabilized.
ISO controls how much the camera amplifies the captured signal, and it shifts the exposure settings the camera will choose. Low (100, 200) gives cleaner files. High (3200 and up) lets you shoot in dim conditions at the cost of noise. Newer sensors and processing handle high ISO better than older ones. Faced with the choice, a noisy sharp photo keeps the moment and a clean blurry one does not.
Show the Work Without the Link Pile
Point one short address at your gallery, your socials, wherever the photos sit.
The three are linked: changing one requires compensating with another to keep the same brightness. That relationship is the whole reason it gets drawn as a triangle.
Practical route in: use aperture priority mode (A or Av). You choose the aperture, the camera handles shutter speed, and you learn what aperture does without juggling three variables. Move to manual later, if you ever need to.
Focus and Sharpness
Blurriness comes from three different problems, and the fix differs for each.
Missed focus means the camera focused on the wrong thing. Fix it by choosing the focus point deliberately rather than letting the camera decide. On a phone, tap the subject.
Camera shake is your own movement during the exposure. It shows as overall softness. Fix it with a faster shutter speed, better bracing, or a surface to rest on.
Subject motion is the subject moving while the shutter is open. The background is sharp and the subject is not. Only a faster shutter speed fixes this.
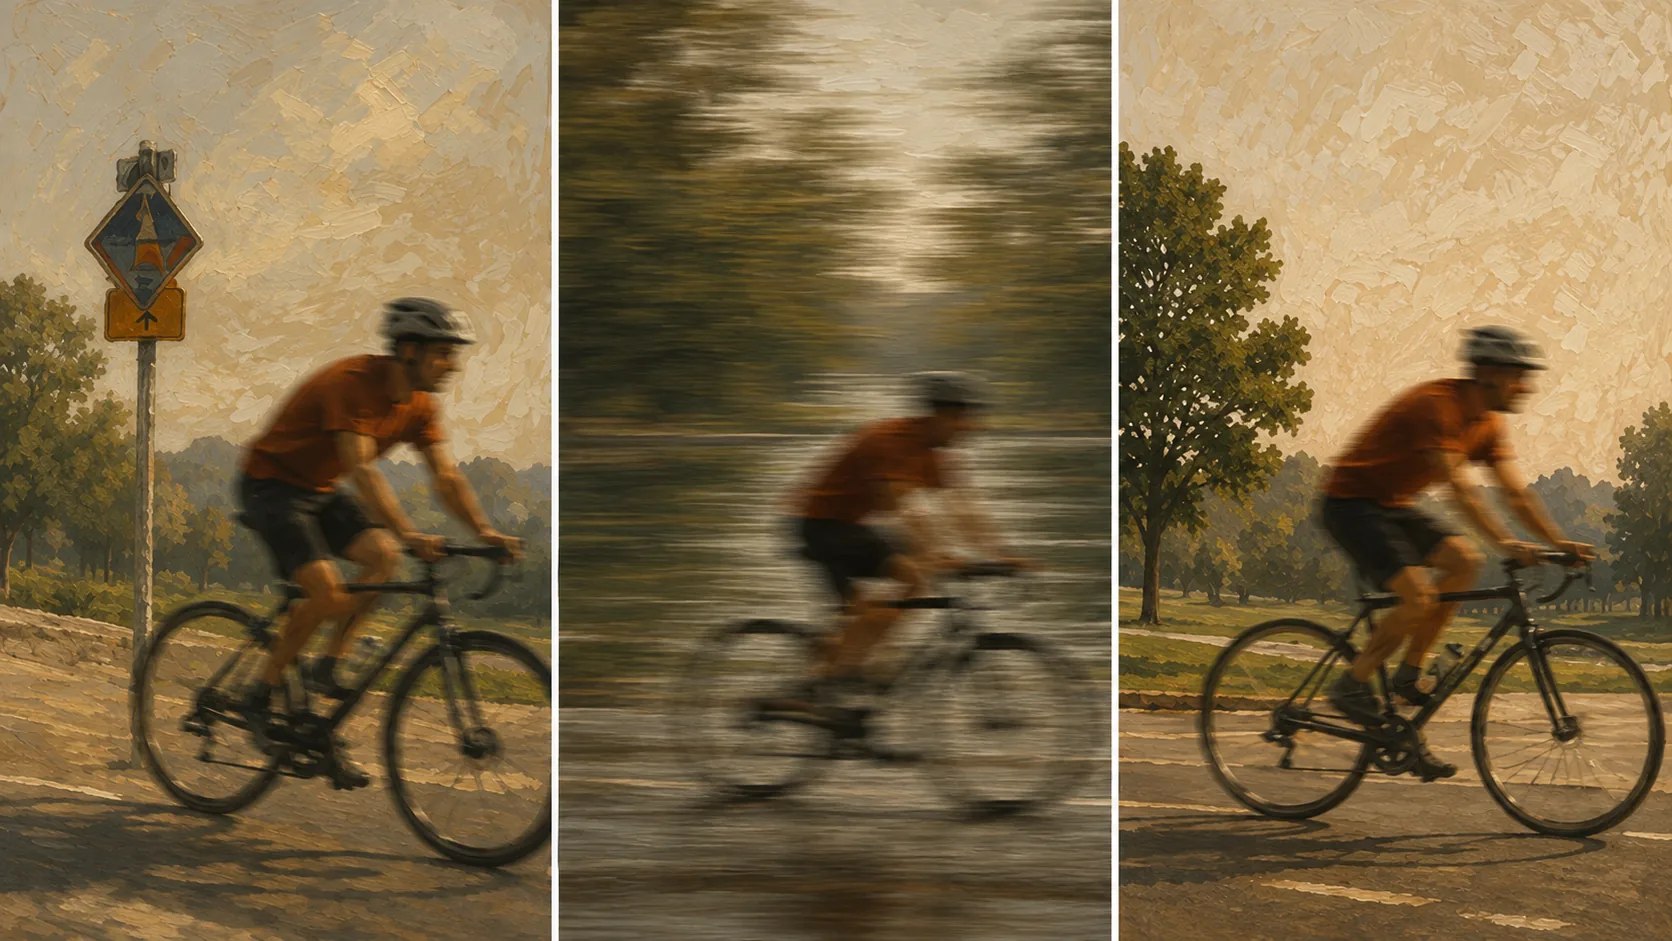
Diagnosing which one you have is the work. Zoom in on the photo: if the background is sharp and the subject is not, it is subject motion. If everything is equally soft, it is shake. If something else in the frame is pin-sharp, it is focus.
Keep Your Photos in One Place
One address, updated whenever the work changes, with analytics on how often it gets opened.
Habits That Speed This Up
Shoot the same thing repeatedly. One subject, fifteen frames, different positions and settings. Comparing your own variations isolates the effect of each change, because the only variable is what you changed.
Review deliberately. Once a week, look at what you shot and pick the three best and the three worst. Work out why. Shooting more without reviewing leaves you with volume; reviewing turns it into feedback.
Shoot in one place repeatedly. A location you know well removes novelty, which pushes you to find the photograph rather than relying on the scene being new.
Learn one adjustment in editing. Exposure, then contrast, then white balance. Change one slider at a time and watch what it does, rather than moving several and guessing which one mattered.
What Beginners Get Told That Is Wrong
"Always shoot in manual." Manual is a tool, not a badge. Aperture priority is a legitimate working mode, not a beginner setting. The mode matters far less than knowing what you want the settings to achieve.
"You need a full-frame camera." Sensor size affects low-light performance and depth of field. It does not affect whether you can see a photograph, which is the actual bottleneck for a beginner.
"Golden hour is the only good light." It is warm and low-contrast, which makes it forgiving. Harsh midday sun produces strong graphic shadows, and overcast light suits portraits well. Restricting yourself to one hour a day removes a great deal of your practice time.
"Never break the rules." Compositional guidelines describe patterns that hold in many situations. Knowing why they work is what tells you when the exception is better.
Once the basics are in place, one technique worth understanding properly rather than applying blindly is the rule of thirds.
FAQ
How long does it take to get decent at photography?
There is no timeline worth quoting, because it depends on how much you shoot and how carefully you review. What you can control is where you spend the effort: composition and light are workable from day one, and consistency is a longer project than first results.
Should I learn on a phone or buy a camera?
Start with the phone. It removes the menu-learning problem entirely and every principle transfers. Buy a camera when you can name the specific limitation you are hitting.
Do I need to shoot RAW?
Not at the start. RAW gives more editing latitude and larger files. Until you are editing regularly and hitting the limits of JPEG, it adds workflow without adding much.
Which setting is worth understanding first?
Aperture is a good starting point, because what falls in and out of focus is a creative decision rather than a purely technical one. Aperture priority mode lets you learn it in isolation.
Why do my photos look flat?
Check the light direction. Light coming from behind the camera flattens visible shadow, and shadow is what creates the impression of depth. Move so the light comes from the side and see whether the same subject gains dimension.
Is editing cheating?
No. Every digital photograph is processed, including files straight out of camera, where the manufacturer has already applied its own interpretation. Editing is deciding rather than accepting someone else's decision.