

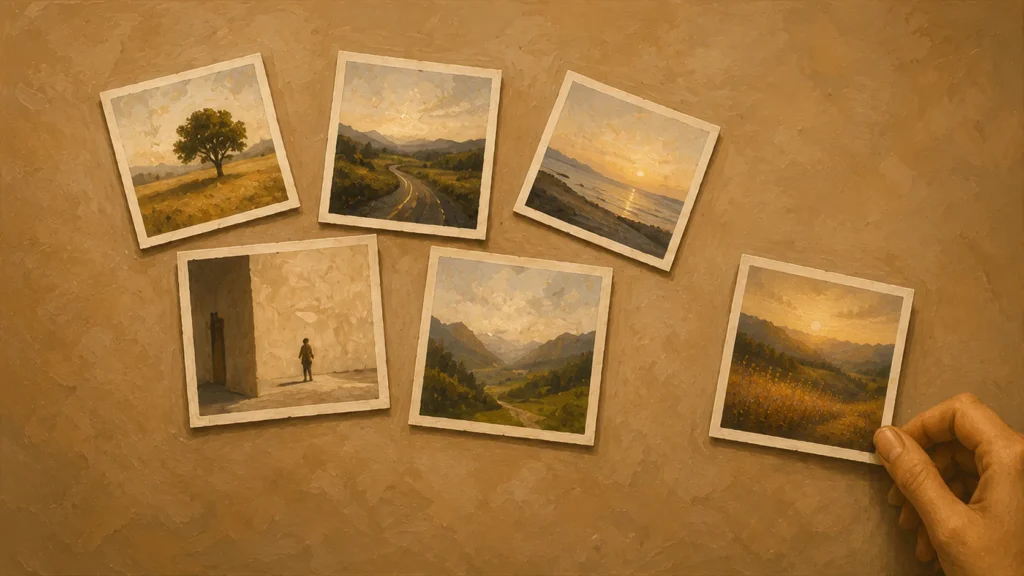
Composition is where the frame is decided, not the gear. Two photographers in the same spot with the same lens come back with different pictures, and what separates them costs nothing to change.
Two photographers stand in the same spot, point the same lens at the same subject, and come back with pictures that feel nothing alike. The gear did not change. What changed is where each of them put things inside the frame.
That is composition: the decisions about what goes in, what stays out, and where each element sits relative to the edges. It is the part of photography that works the same on a phone as on a camera that costs more than a car, which is why it is worth learning before anything else technical.
One Link for Everything You Shoot
A short address you control, pointing wherever your photos already live.
What Composition Actually Decides
A photograph is a rectangle with edges. Everything inside it competes for attention, and the viewer's eye lands somewhere first, then travels. Composition is the set of choices that decide where it lands and where it goes next.
This matters because a photograph has to survive a glance before it earns a longer look. A viewer scrolling is not evaluating sharpness or dynamic range. They are working out what the picture is about. If the frame does not answer that, there is nothing to hold them.
The techniques below are ways of answering it faster. None of them are rules in the sense that breaking them is wrong. They are patterns that hold in many situations, and knowing why they work is what lets you decide when to ignore them.
Start With What the Photo Is About
Before any technique applies, one question has to have an answer: what is this a picture of?
Not "a park." Not "my holiday." Something specific enough that you could point at it. The bench. The way the light hits the wall. Your friend laughing. A photo without a subject is a photo of everything, which reads as a photo of nothing.
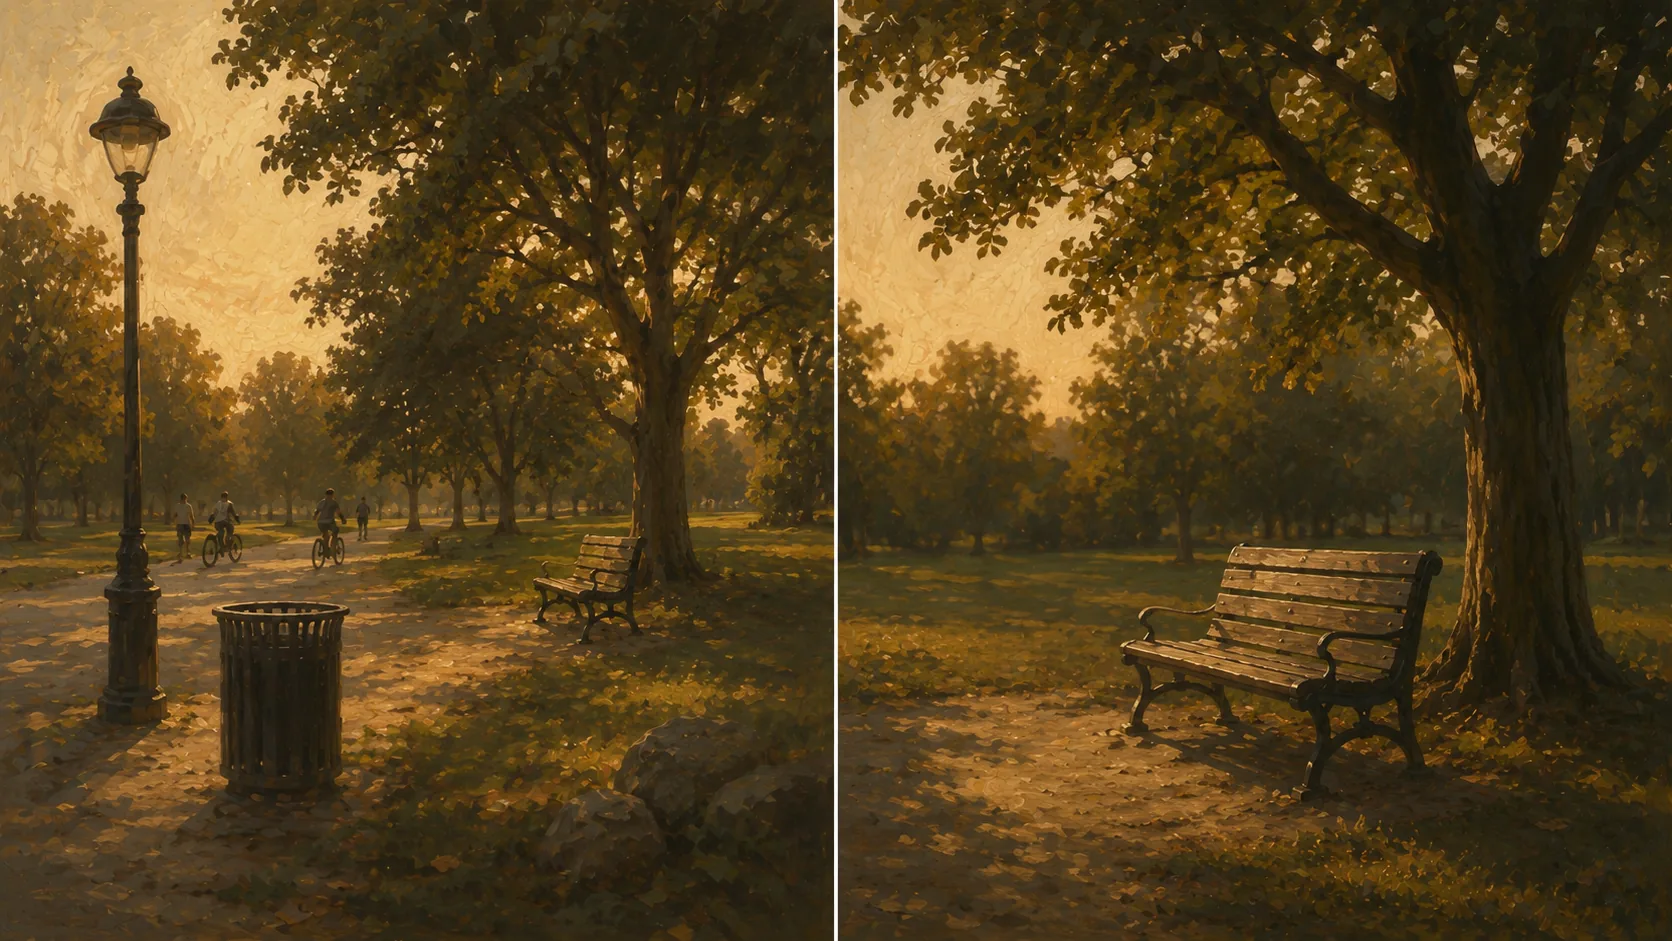
Once you can name the subject, the rest of composition becomes a series of questions about it. Is it big enough to read? Is anything competing with it? Does the background help or interfere?
This sounds obvious written down, and it is easy to skip, because pointing the camera at a nice scene feels like enough. It is not. The scene is three-dimensional and surrounds you; the photo is a flat rectangle that only shows a slice.
Where the Subject Sits in the Frame
Dead center is the default, because it is what happens when you point and shoot. It is also a legitimate choice, particularly for symmetrical subjects and formal portraits, where centering reads as deliberate.
Moving the subject off center leaves it room to exist in a context rather than floating in the middle of a rectangle. One approach to this is the rule of thirds, which divides the frame into a three-by-three grid and puts the subject near one of the lines or intersections.
That single technique has enough depth that it deserves its own treatment, and it has one specific trap worth knowing about before you apply it. We cover both in our guide to the rule of thirds.
The broader point is about breathing room. A subject looking or moving toward the left edge wants space on the left to look or move into. Crowd that side and the photo feels tight; leave it and the photo feels resolved. The work is noticing it before you press the shutter rather than afterwards.
Lines That Move the Eye
Roads, fences, shadows, riverbanks, the edge of a table, a row of windows. Any strong line in a scene pulls the eye along it, and you can use that to route the viewer toward whatever the picture is about.
The effect is strongest when the line starts near a corner or edge and travels inward. A path entering at the bottom of the frame and leading to a figure in the distance gives the eye somewhere to start and somewhere to arrive.
Share the Set, Not Fifteen Links
Point one short address at your gallery, your socials, wherever the work already sits.
Lines also work against you when you do not notice them. A fence running out of the frame at an odd angle, or a horizon slicing through someone's neck, directs attention exactly where you did not want it. Before shooting, it is worth a half-second scan for lines you did not intend.
Curves behave differently from straight lines. A curving path or shoreline takes more work to follow, so the eye stays with it longer. That is useful when the journey through the frame is part of the point, and unhelpful when you want the subject read immediately.
Foreground, Middle, Background
A flat photo has one plane of interest. A photo with depth has two or three, and that difference is part of what separates a snapshot of a landscape from a photograph of one.
The practical method is to look for something to put close to the camera. Branches, a wall, grass, a doorway, a person's shoulder. It does not have to be sharp, and can work better when it is not. What it does is give the eye a sense of standing somewhere rather than looking at a picture.

Backgrounds deserve as much attention as subjects. A technically fine portrait can be undermined by a bin, a sign, or a pole growing out of someone's head. Before you shoot, try moving a step or two to either side and check whether the background improves.
Taking Things Out
Removal is as much a compositional tool as addition. The frame gets stronger when things that do not contribute leave it.
You have three ways to remove something: move closer, change angle, or wait. Moving closer crops it out. Changing angle puts something else behind the subject. Waiting lets people walk out of shot, or lets the light change so the distraction falls into shadow.
Zooming is a fourth option, but it is not the same as moving closer. Zoom changes magnification while leaving the relationship between subject and background largely as it was. Walking closer changes that relationship, which may be what you actually wanted.
The discipline here is asking, of each thing in the frame, whether the photo would be worse without it. Anything that survives that question belongs. Anything that does not is clutter, however interesting it seemed in person.
The Edges Are Part of the Picture
Attention goes to the middle of the frame, and the edges are where the accidents happen: half a stranger, a clipped hand, a bright patch pulling attention off the side. Scan them before you shoot.
Bright areas are the worst offenders. The eye is drawn to brightness, so a blown-out patch of sky in a corner competes with your subject for attention.
Keep Your Photos in One Place
One address, updated whenever the work changes, with analytics on how often it gets opened.
Cropping later can rescue an edge problem, and there is nothing wrong with cropping. But every crop throws away pixels, and a crop that fixes the edge may cost you the placement you wanted. Getting it right in the frame keeps both.
How to Practice This
Composition is built through repetition with attention rather than through reading. A few approaches worth trying:
Shoot one subject many ways. Pick something that will not move and photograph it fifteen times: closer, further, higher, lower, from each side. Compare them afterwards. The variation between those frames is composition, isolated from everything else.
Work with one focal length. If you can lock your phone to a single lens or leave a prime on the camera, do it for a week. Removing zoom forces you to move, and moving is what teaches framing.
Review with fresh eyes. Look at your photos from a month ago and ask, of each one, what it is about. The ones where you cannot answer quickly are the lesson.
If you are still building the technical foundation alongside this, our photography guide for beginners covers the settings and habits that composition sits on top of.
FAQ
Do I need a proper camera to work on composition?
No. Composition is about where things sit in the frame, which is independent of the sensor recording it. A phone is arguably better for learning, because the fixed lens forces you to move rather than zoom.
Is the rule of thirds always the right choice?
No. It is a reliable starting point, not a requirement. Centered composition suits symmetry and formal portraits, and plenty of strong photographs ignore thirds entirely. Learn why it works, then decide per photo.
How many composition techniques should I use in one photo?
Treat one or two as a working ceiling. Stacking every technique into a single frame gives the eye competing instructions. Pick the one that serves the subject and let the others go.
Should I compose in the frame or crop afterwards?
In the frame when you can. Cropping is a legitimate tool and sometimes rescues a shot, but it costs resolution and can force a placement you did not choose. Treat it as repair rather than method.
Why do my photos look worse than the scene did?
The scene surrounded you and the photo is a flat rectangle showing part of it. Your eye also ignored clutter that the camera recorded faithfully. Decide on a subject and remove what does not serve it, then compare.
What is a good exercise to start with?
Photograph one subject from many positions in a single session, then compare. It isolates composition from every other variable and shows you the difference your position makes.