

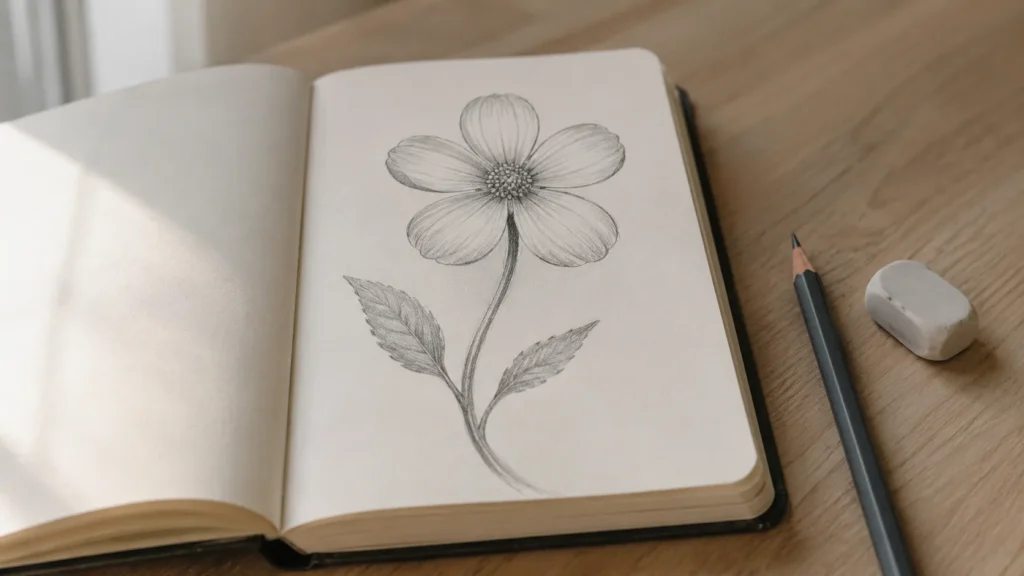
One circle for the center, one guide circle around it, five dots at clock positions, and the flower draws itself. A structure-first method for a five-petal flower that works for a buttercup and, with more petals, a daisy or a cosmos, plus a rose-spiral bonus for the one flower that refuses the rules.
This is a build-up method, not a trace-along, the same idea behind our how to draw a dog guide applied to a radial problem instead of an animal. When this flower gets easy, the easy drawing ideas hub has the next subject waiting.
One Link for Everything You Make
A short address you control, pointing to your sketches, your pages and everything else you share.
Before You Start: Light Pencil, Round Enough
HB or 2B, any paper. The first five steps get drawn so lightly they can barely be seen: they are scaffolding, meant to be erased. Your circles do not need to be perfect. A slightly lopsided guide circle produces a flower that looks grown rather than printed, and grown is the better outcome. Draw at least palm-sized; small flowers crowd the petals into mush.
Step 1: The Center Comes First
Draw a light, small circle, roughly the size of a fingernail. This is the flower's core, and every other decision measures from it. The finished flower is already encoded here: a big center with short petals reads as a sunflower or a daisy; a small center with long petals reads as a cosmos or a lily. Nudge the size now, because after step 3 it is fixed.
Step 2: The Guide Circle
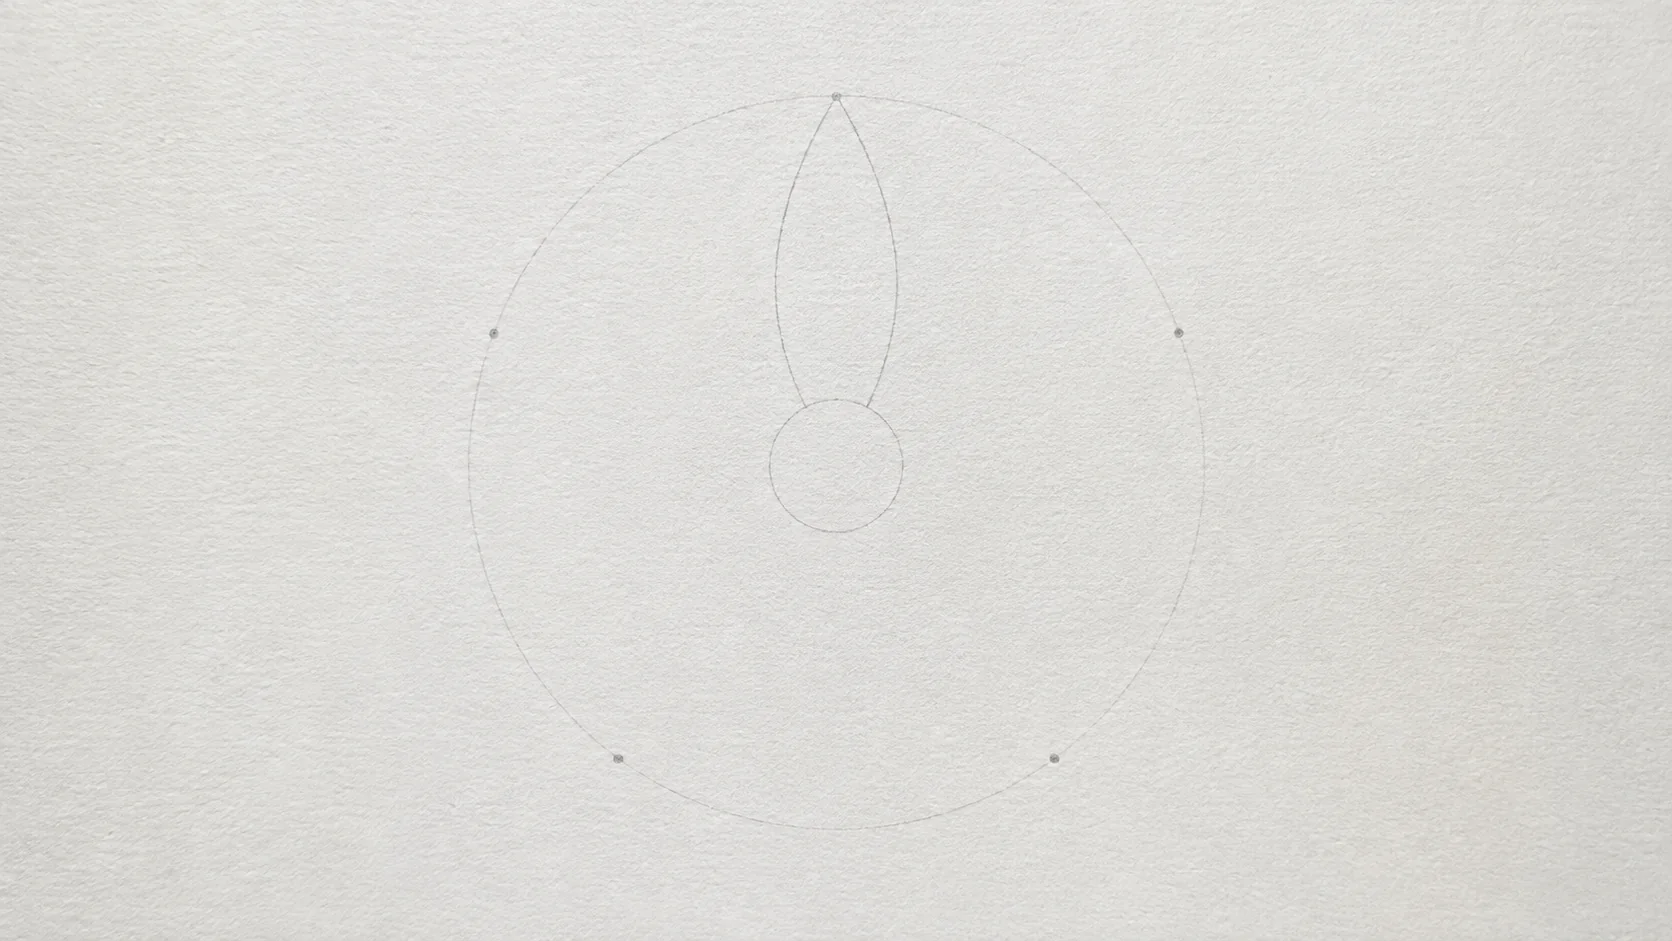
Draw a second light circle around the first, concentric, about three times its diameter. This outer circle is where every petal will end, and it never appears in the finished drawing. Petals drawn without a boundary drift to different lengths, and a flower with uneven petals looks broken rather than natural. The guide circle makes them agree without any measuring. Wider circle, long-petal flower; tighter circle, a compact buttercup shape.

Step 3: Mark Five Petal Tips
Read the guide circle as a clock face and put a light dot at 12, 2, 5, 7 and 10 o'clock. Five dots, spaced evenly enough that the eye reads them as regular. This is the step beginners skip, and it is the reason most beginner flowers look wrong: spacing five things evenly around a circle is genuinely hard to eyeball, and it is the single most visible failure in a flower drawing. Clock positions cost nothing and solve it completely. Want six petals instead? 12, 2, 4, 6, 8 and 10. Eight petals: every other hour position.
Step 4: Grow the First Petal
Start at the edge of the center circle, curve outward to the dot at 12, and curve back down to the center circle again. Two curved lines meeting at the tip, both bowing outward, so the petal is widest around two thirds of the way out and narrows at both the base and the tip. The shape to avoid is the balloon: fat at the tip, pinched at the base. Real petals attach broadly and taper toward the end. Round the tip rather than sharpening it, unless you want a spiky daisy.
Step 5: The Other Four
Repeat toward each remaining dot, and rotate the paper instead of contorting your wrist. Every hand draws its best curve in one direction; rotating the page lets that same comfortable stroke serve all five petals. Do not aim for identical petals. Slight variation in width and curl is what separates a drawing of a flower from a drawing of a logo. If two petals overlap slightly at the base, leave it: overlap reads as depth.
Step 6: The Stem, Off Center
Draw the stem from the bottom of the center circle as two nearly parallel lines with a slight bend, not one straight ruler line. Let it leave the flower a little off vertical, and keep the bend gentle and single, not a wave. A dead-vertical stem makes the flower look pinned to a board; a stem tilted a few degrees makes it look like it is growing.
Turn Your Sketchbook Into a Gallery
Collect your drawings on one page and share a single short link with anyone.
Step 7: Two Leaves, Never Matching
Add two leaves off the stem at different heights, never opposite each other at the same point. Each leaf is a long pointed oval, one edge more curved than the other, with a single center vein and two or three short veins branching toward the tip. Different sizes, different angles, different heights. Symmetrical matched leaves are the fastest way to make a hand drawing look like clip art.

Step 8: The Real Outline
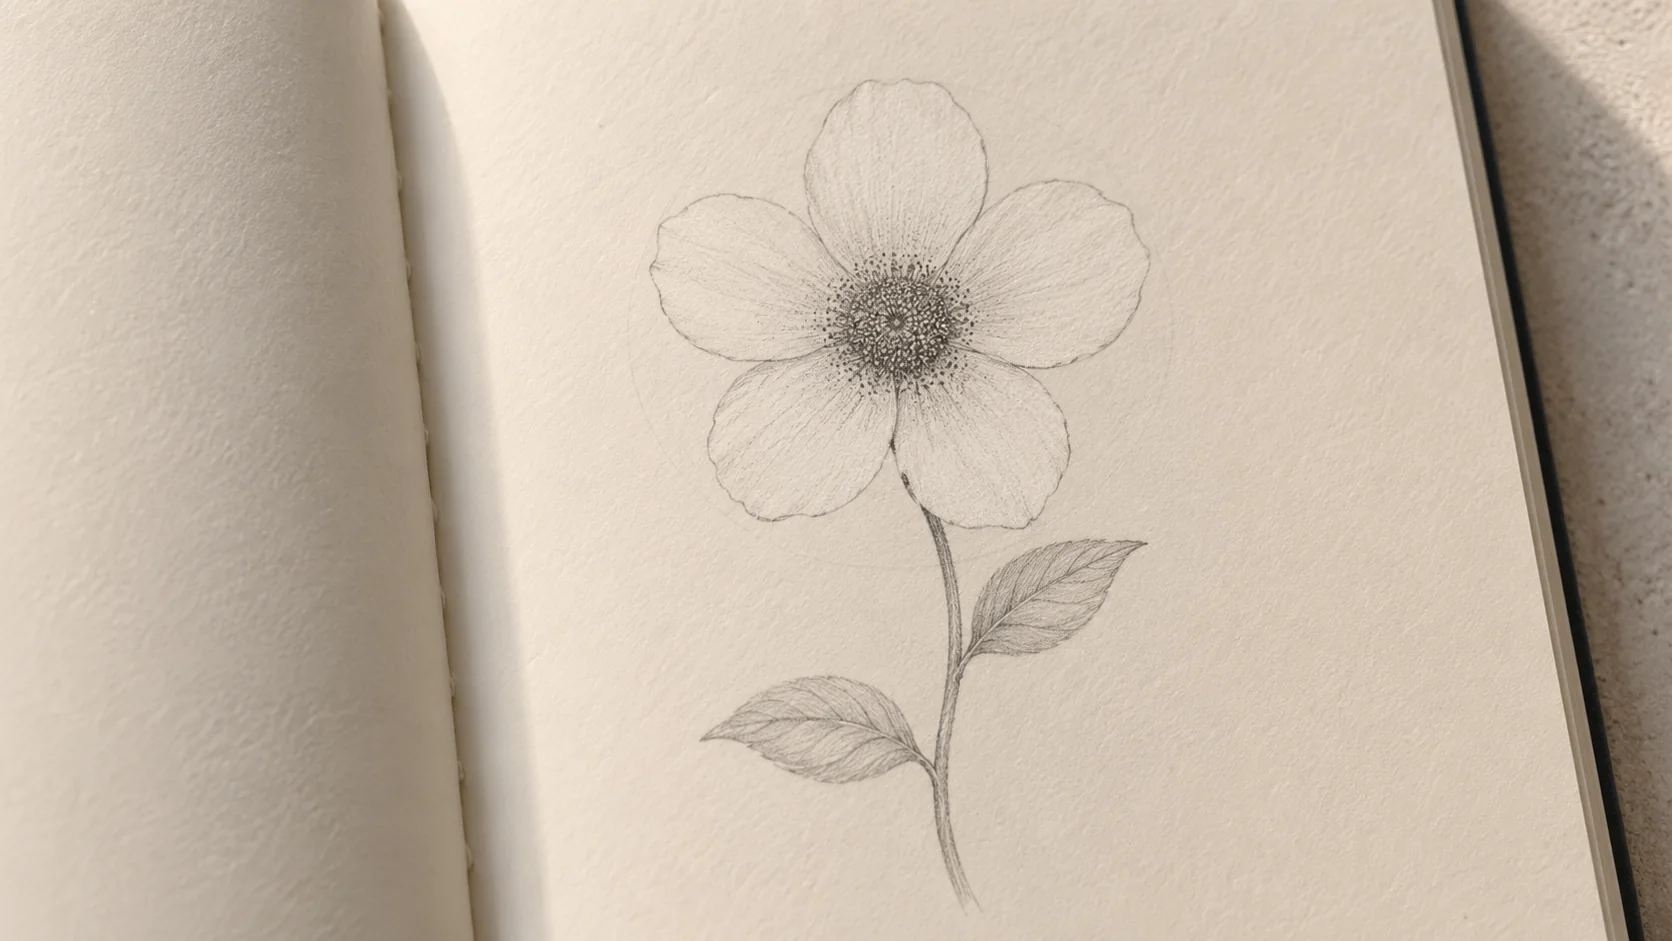
Press harder and redraw the flower in one cleaner, more committed line over the scaffolding: around each petal, around the center, down both sides of the stem, around the leaves. Where the guide lines disagree with your eye, trust the eye; the scaffolding was advice, not law. Then erase the guide circle and the clock dots. A few surviving faint lines look like confident sketching. A fully visible circle looks like homework.
Step 9: Shade the Center, Not the Petals
Most beginner flowers get ruined here, by shading everything. Do the opposite: darken the center heavily with small tight circles or dots, leave the petals almost white, and add one short shadow stroke at the base of each petal where it meets the center. That contrast is what makes a flat flower pop. Optionally add three or four very light lines running from base to tip along each petal to suggest ribbing. Light ones. Anything heavier flattens the petal into a striped leaf.
Bonus: The Rose Spiral
A rose refuses the five-petal method because it has no visible center to build from. It gets a different primitive: a spiral. Draw a small loose spiral, roughly two turns, not tight and not perfectly round; that is the bud core. Wrap a soft rounded V around the spiral's outer end: the first petal. Keep adding rounded, cupped shapes around it, each one wrapping the previous, each one larger. The outer petals get flatter and start folding outward instead of hugging inward. Break the symmetry on purpose, with petals of unequal size and one edge folding back. Finish with small pointed sepals at the base and a stem thicker than a daisy's. The rose reads as a rose because of the spiral, not the detail; a rushed spiral cannot be rescued by more petals.
Common Mistakes (and the Fix)
Petals unevenly spaced. Eyeballing five points around a circle fails for everyone. The clock trick fixes it: 12, 2, 5, 7, 10.
Petals of different lengths. There was no guide circle. Every petal tip stops at the guide circle, no exceptions.
Balloon petals, fat tip and pinched base. The petal was drawn tip-first. Start at the center circle; widest point about two thirds of the way out.
Construction circles visible in the final. Steps 1 to 3 were pressed too hard. Barely visible until step 8, then commit.
The flower looks like a logo. The petals were traced to be identical. Vary width and curl slightly and allow a little base overlap.
A dead-vertical, ruler-straight stem. Two lines, one gentle bend, a few degrees off vertical.
Leaves mirrored at the same height. Symmetry instinct. Different heights, sizes and angles.
The whole drawing shaded gray. Shading is not finishing. Dark center, near-white petals, one shadow stroke per petal base.
The center added last. Petals first means a center squeezed in wherever it fits. The center is step 1; the petals measure from it.
A rose attempted with the daisy method. Not all flowers are radial. The rose takes the spiral primitive, not center plus petals.
Show the World the Day-Thirty Flower
Post your progress to one page that holds every drawing you are proud of.
FAQ
What is the easiest flower to draw?
A simple five-petal flower, like a buttercup. Small center circle, a guide circle around it, petal tips at the 12, 2, 5, 7 and 10 clock positions, then curve each petal from the center out to its dot. Structure first, detail last.
How do I space flower petals evenly?
Read the guide circle as a clock face and mark the tips at fixed hour positions before drawing anything. Five petals go at 12, 2, 5, 7 and 10. Uneven spacing is the most visible beginner error, and this removes it without measuring.
Why do my petals look like balloons?
They were started at the tip. Begin each petal at the edge of the center circle, bow both lines outward so the petal is widest about two thirds of the way out, and narrow it again at the tip. Petals attach broadly and taper.
How do I draw a rose?
Not with the petal method. Start with a small loose spiral for the bud core, wrap a soft cupped shape around its outer end, then keep adding larger cupped petals, each wrapping the last, flattening and folding outward toward the edge. The spiral does the work.
Should I shade the petals?
Barely. Darken the center heavily, leave the petals nearly white, and add one short shadow stroke where each petal meets the center. That contrast gives a flat flower depth, and shading the petals evenly is the fastest way to make the drawing look muddy.
References
- Britannica: Buttercup. Describes buttercup flowers with five sepals and five or more glossy petals, the flower the five-petal method fits.
- Britannica: Daisy. Explains the daisy head: a yellow disk center ringed by many white ray flowers, the big center look the post describes.
- Illinois Wildflowers: Common Cosmos. Gives the cosmos flower head structure: about eight ray florets around a small disk.