

The best Halloween art session is the one where the child decides what the ghost looks like. Not the one where six identical pumpkins come out of six identical outlines.
Everything below is organised by what the child's hands are doing: tearing, printing, dripping, folding, cutting. Each project lists the materials, the numbered steps, roughly how long it takes and the age range it suits. No outline to print, no shape to trace. Where a shape is needed, it is described in words so an adult can draw it freehand on the spot, badly, which is fine.
When the Art Session Happens Somewhere Else
Plenty of these projects end up on a long table at a cafe, a community room or a school hall. If the place is a VISU partner, scanning the code there turns the visit into a small reward. The afternoon stays yours, the bonus is an extra.
Why the Outline Is the Problem
A printed shape answers the only interesting question before the child gets to it. Where does the eye go? How big is the mouth? Is the ghost round or long? Once the outline exists, the child's job shrinks to filling it in without going over the line, and every page comes out looking like every other page.
Take the outline away and the child has to decide. A ghost torn from white paper is whatever shape the tear produced, and the child looks at that shape and finds the face in it. That decision is the whole activity.
The practical version of the rule: if you are about to draw the shape for them, describe it instead. "A rounded top and a wobbly bottom edge" gets you a ghost. Twenty different ghosts, in fact, which is the interesting outcome.
The Visual Vocabulary Worth Borrowing
Halloween comes with shapes and colours children already recognise, and using them is what makes a torn piece of paper read as a ghost. Knowing where that vocabulary comes from tells you which pieces are load bearing.
The carved pumpkin is the central one. Wikipedia's article on the jack-o'-lantern describes it as "a carved lantern, most commonly made from a pumpkin, or formerly a root vegetable such as a mangelwurzel, rutabaga or turnip," and notes that "Jack-o'-lanterns are associated with the Halloween holiday." The article also describes how one is made: "the top of a pumpkin is cut off to form a lid, the inside flesh is scooped out, and an image, usually a scary or funny face, is carved out of the rind exposing the hollow interior."
What follows for an art table: the recognisable part is not the pumpkin, it is the cut out face against a solid ground. Any project that reproduces that contrast reads correctly, in paper or in paint.
The colour set is equally specific. Wikipedia's Halloween article states that "Black, orange, and sometimes purple are Halloween's traditional colors," and lists the props that go with them: "Elements of the autumn season, such as pumpkins, corn husks, autumn leaves, and scarecrows, are also prevalent." It adds that "Black cats, which have been long associated with witches, are also a common symbol of Halloween."
So the list, if you buy anything at all, is black, orange and white paper, one purple if you have it. Restricting the palette on purpose makes a mixed table of results look like a set, and it is the one adult decision that takes nothing away from the child.
Setting Up in Ten Minutes
- Cover the table with old newspaper or a cut open bin bag, taped down at the corners so it does not slide.
- Put paint in small amounts in something shallow and disposable: a yoghurt pot lid, an egg box, a plate. Small amounts mean small spills.
- Give each child one container of water and one cloth, within their own reach.
- Put the scraps, the paper and the tools in the middle where everyone can reach without standing up.
- Decide in advance where wet work will dry, and clear that space before you start.
The drying space is the one that is not optional. A session with nowhere to put finished pieces ends with somebody carrying a wet painting through the house.
Tearing and Sticking
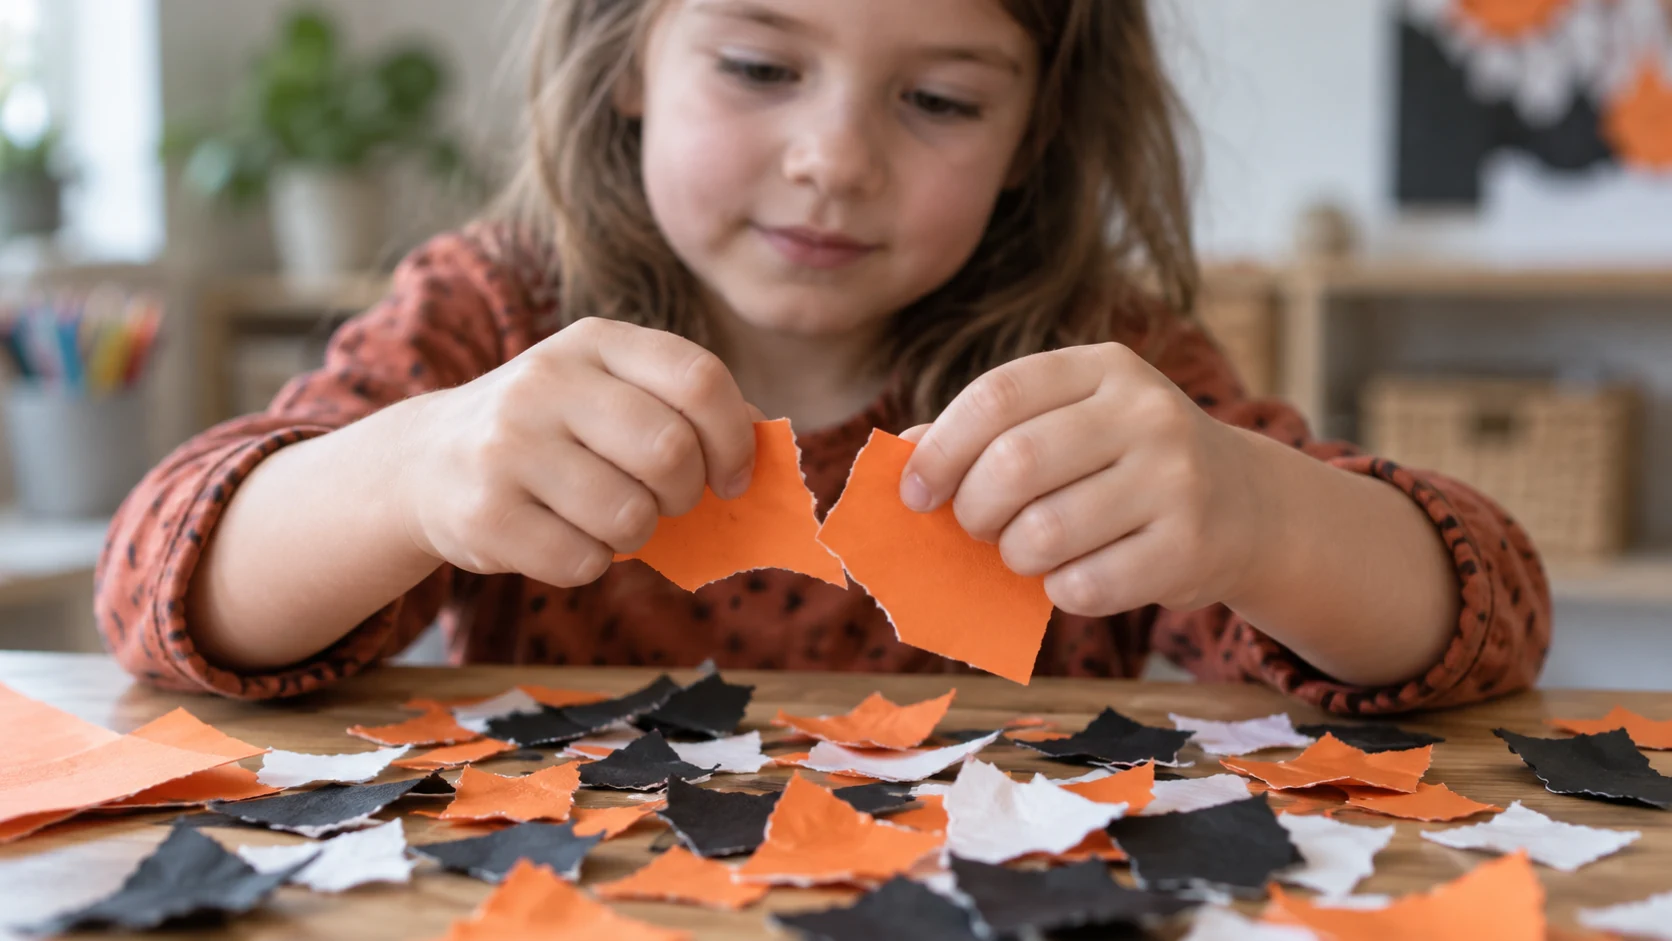
Tearing needs no tools, which makes it the right opening activity for a mixed age table.
Torn paper ghosts. Materials: white paper, a dark sheet as background, glue stick, a black pen. Time: fifteen minutes. Ages: three and up. Steps: 1) Tear a piece of white paper into a rough shape with a rounded top and a wobbly lower edge. 2) Glue it onto the dark background. 3) Add eyes and a mouth with the pen, or tear tiny black scraps and glue those instead. Do not correct the shape. A lopsided ghost is the good outcome.
Mosaic pumpkin. Materials: orange paper in two or three tones, black and green scraps, a large sheet, glue. Time: thirty minutes. Ages: four and up. Steps: 1) Tear the orange paper into pieces roughly the size of a stamp. 2) Fill a large round area on the sheet with them, overlapping, leaving no white gaps. 3) Tear black shapes for the eyes and mouth and lay them on top. 4) Add a green stem. The face is cut out of the ground with black, which is the contrast described in the source above.
Scrap creature. Materials: every offcut from the other projects, a sheet, glue. Time: twenty minutes. Ages: three and up. Steps: 1) Spread the scraps out. 2) Ask the child to find a shape that already looks like a body. 3) Build the rest of the creature around it. 4) Name it. The naming matters more than it sounds, because it turns an arrangement into a character.
Printing and Stamping
Printing produces a repeated mark, so a young child covers a big sheet quickly and feels the work going somewhere.
Apple half pumpkins. Materials: an apple cut in half through the middle by an adult, orange paint, paper, a green pen. Time: twenty minutes. Ages: two and up. Steps: 1) Dip the cut face of the apple in a shallow layer of orange paint. 2) Press it firmly on the paper and lift straight up. 3) Repeat across the sheet. 4) Draw a stem on each once dry. The apple prints a naturally lumpy round, which is closer to a real pumpkin than a drawn circle.
Fork spider webs. Materials: a fork, white paint, dark paper. Time: fifteen minutes. Ages: four and up. Steps: 1) Load the back of the fork tines with white paint. 2) Press and drag short strokes outward from one point, turning the paper between each. 3) Join the spokes with curved strokes using the tip of a single tine. Irregular webs look better than tidy ones.
A Short Trip That Gives Something Back
Some of these projects start with a walk to pick up leaves or a stop somewhere on the way home. At a VISU partner location, scan the code available there and the reward is tied to being present, not to buying anything.
Dripping, Blowing and Spreading
Here the material does something the child did not fully control, and the child responds to it. These also make the biggest mess, so keep them for after the setup is done.
Blown ink spiders. Materials: watery black paint, a straw, thick paper. Time: twenty minutes. Ages: five and up. Steps: 1) Drop a blob of watery paint on the paper. 2) Blow through the straw at the edge of the blob so it runs outwards in legs. 3) Turn the paper and blow again from another side until the blob has enough legs. 4) Add eyes in white once dry. Blowing sideways, not down into the paint, is the only technique note that matters.
Wax resist ghosts. Materials: a white wax crayon, white paper, watery dark paint, a wide brush. Time: twenty five minutes. Ages: four and up. Steps: 1) Draw ghosts on white paper with the white crayon, pressing hard. The drawing is nearly invisible. 2) Brush watery dark paint across the whole sheet. 3) Watch the ghosts appear where the wax blocks the paint. The reveal is the reason this one gets requested again.
Folding and Cutting
Folding turns one cut into many, which feels like a trick to a child who has just worked out how it happens.
Concertina bat chain. Materials: black paper, scissors. Time: twenty minutes. Ages: five and up, with an adult for the first cut. Steps: 1) Fold a strip of paper back and forth like a fan. 2) On the top layer, draw half a bat against the folded edge: a body at the fold, a wing reaching out with two points along its lower edge. 3) Cut through all layers, leaving the folded edge uncut. 4) Open. The uncut fold is the whole trick, and it is worth letting a child discover what happens when they cut it by accident.
Standing paper lanterns. Materials: a rectangle of orange paper, scissors, glue. Time: twenty minutes. Ages: five and up. Steps: 1) Fold the rectangle in half lengthways. 2) Cut a row of slits from the folded edge, stopping short of the open edges. 3) Unfold, roll into a tube and glue the short edges. 4) Cut eyes and a mouth from black paper and stick them on the outside. It stands on a table and casts a striped shadow, which is the closest a paper project gets to the glow described in the source.
Large Scale and Group Work
With several children working at once, a shared surface solves the problem of who finished first.
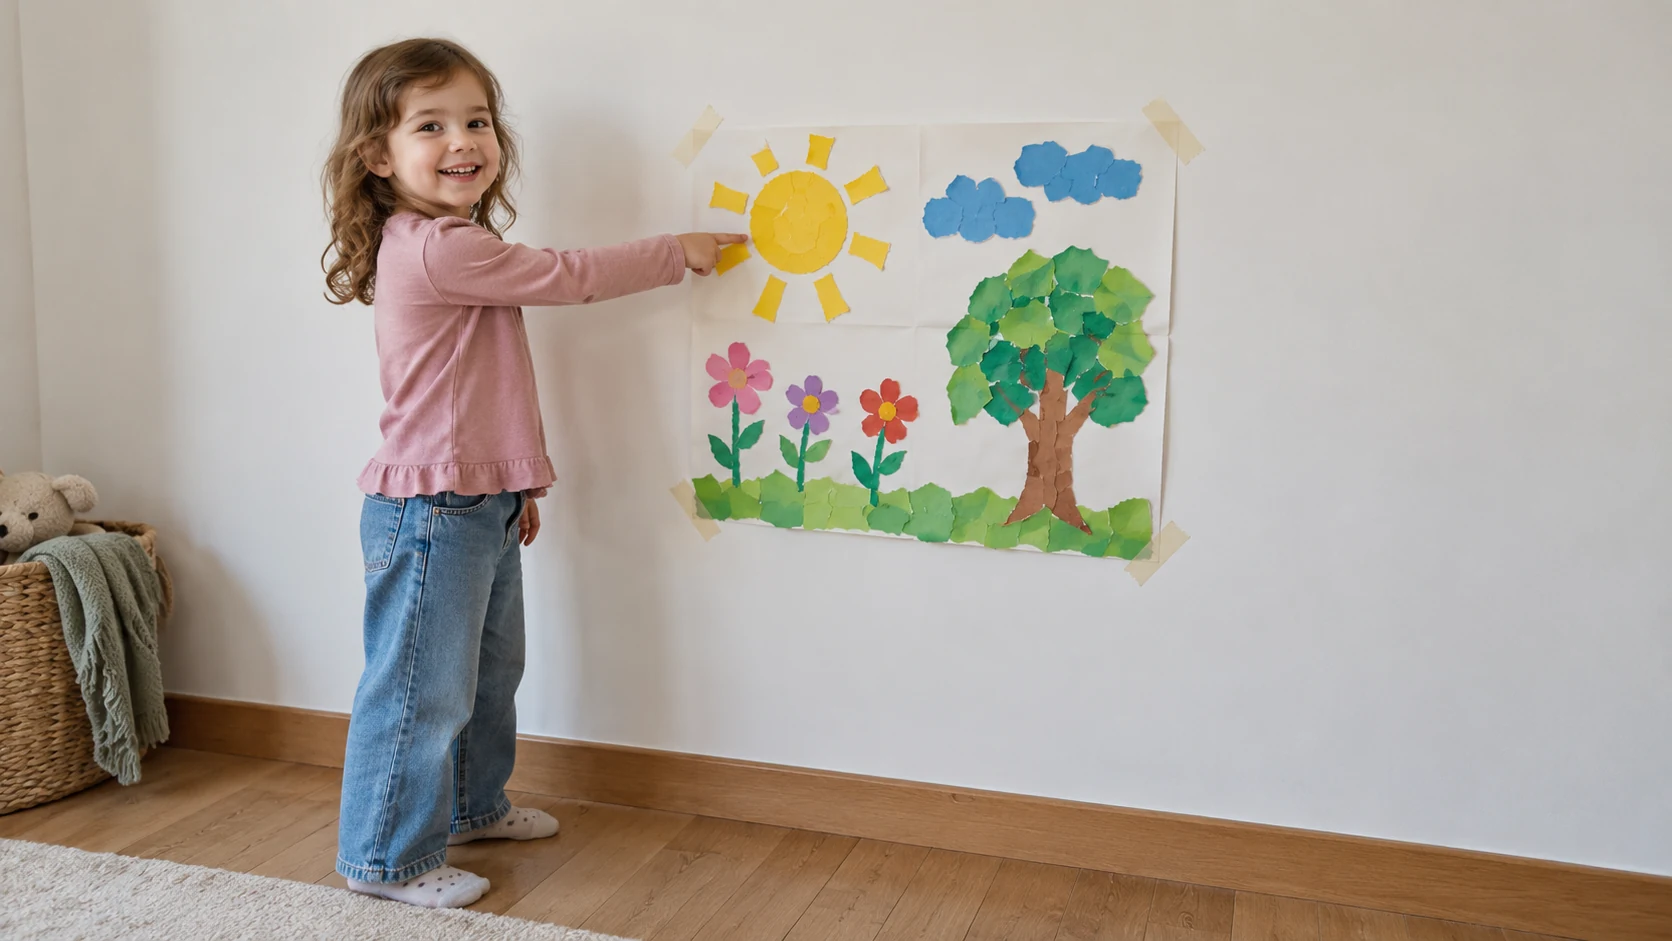
Wall length night scene. Materials: a long roll of paper or taped together sheets, paint, scraps, glue. Time: an hour or more, across a session or two. Ages: mixed. Steps: 1) Tape the paper along a wall or lay it on the floor. 2) Agree only two things in advance: the ground line, and that the sky stays dark. 3) Everyone works on their own stretch, adding whatever they want above the line. 4) Fill the gaps at the end together.
The Sharp Tools Conversation
Said once, plainly. Scissors are for children who already use them confidently, and the adult stays at the table while they are out. Carving a real pumpkin uses a knife and is an adult job, with the child scooping, choosing the face and drawing it on the rind, which is the part they care about anyway. Very small pieces stay away from any child who still puts things in their mouth. That is the whole safety section on purpose: repeating it every second paragraph makes it easier to tune out, not harder.
Finishing and Displaying
A session ends better when the work goes somewhere rather than into a pile on the counter.
Ask the child which piece should go up. Choosing means looking at the whole set and making a judgement, a different activity from making. Put it at their eye level, not adult eye level, and leave it long enough to be noticed. Tape on a door works as well as a frame.
For the rest, photograph them flat in daylight before they get creased. The photograph keeps the thing that mattered, the shape the child chose, and takes up no space. With a larger group, those photographs are what you send home when the paint is still too wet to travel.
For younger children specifically, the same process first approach and the same open ended materials carry across every season, and a broader set of them is collected in these preschool art projects. If the weather has driven everyone inside and the art table is not going to hold for the whole afternoon, there are other indoor activities for kids that need the same nearly empty cupboard.
Let the Place You Are In Count for Something
VISU connects rewards to verified presence at partner locations. If the group is already meeting somewhere on the map, a cafe, a club, a community space, the bonus comes from showing up, not from spending more.
FAQ
What Halloween art can a three-year-old actually do alone?
Tearing, gluing, hand printing and apple printing. All four need no tools and produce a visible result within a couple of minutes, which is roughly the attention span you are working with.
How do I do this without buying anything?
The projects above use paper, glue, paint, scissors, a fork, a straw, a cardboard tube and an apple. If the paper is the wrong colour, paint a sheet first and use that as the background.
Why not use a printed outline just to get started?
Because the outline makes the decisions that were the interesting part. Describe the shape out loud instead and let the child draw or tear their own version of it.
My child wants their pumpkin to look like a real one and gets frustrated.
Offer a reference to look at rather than a shape to copy: a real pumpkin on the table, or a photograph. Looking and copying are different from tracing, and the frustration usually comes from an unclear target rather than from ability.
Can we carve a real pumpkin with the children?
The cutting is an adult job. Children can scoop the inside out, decide what the face looks like and draw it onto the rind for the adult to follow, which is the part with the choices in it.
How do I stop everyone making the same thing?
Do not demonstrate a finished example. Describe the technique, show the first move only, and put the materials out. A demonstration piece on the table becomes the target for the whole room.
What do we do with all of it afterwards?
Let the child pick one for the wall, photograph the rest flat in daylight and keep the photographs. The pieces that get chosen are usually not the ones an adult would choose.
References
- Jack-o'-lantern, Wikipedia. Supports the description of the jack-o'-lantern as a carved lantern most commonly made from a pumpkin or formerly a root vegetable, its association with the Halloween holiday, and the way one is made: lid cut off, flesh scooped out, a face cut from the rind exposing the hollow interior.
- Halloween, Wikipedia. Supports the traditional colour set of black, orange and sometimes purple, the presence of autumn elements such as pumpkins, corn husks, autumn leaves and scarecrows, and the wider imagery of monsters and black cats that the projects borrow from.
- The projects, materials lists, step sequences, times and age ranges are original editorial material built from common household and stationery items. They make no psychological, developmental or health claim.