

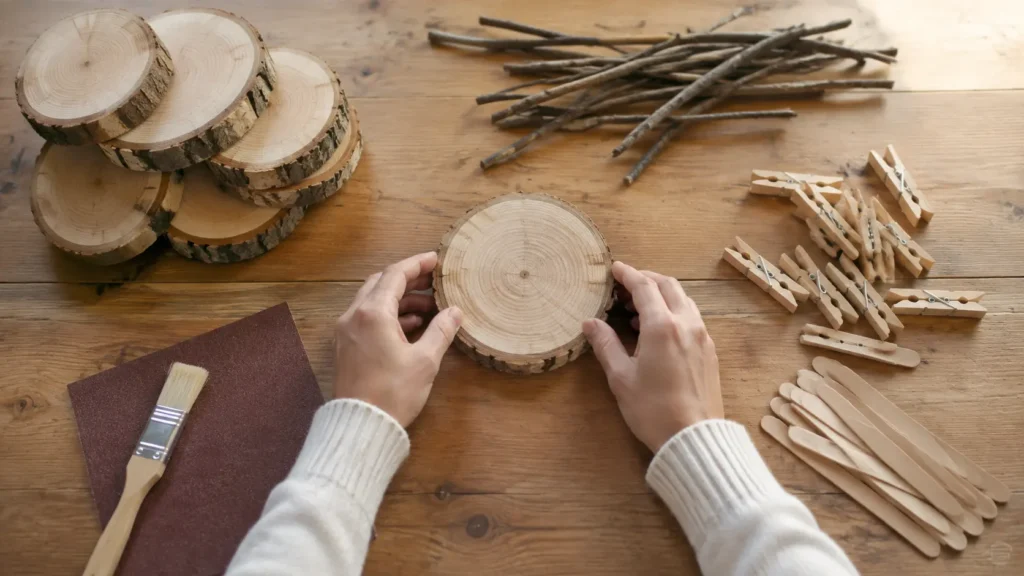
A log slice, a handful of branches and a bag of clothespins cover most of the Christmas wood crafts worth making at a kitchen table. None of the twelve projects below needs a power saw. Most need nothing sharper than sandpaper.
The list is organised by material, because that is how you decide what to make: you look at what wood you already have. Each project lists the materials, the steps, an estimated time, the difficulty and a suggested age. Nothing here hangs from a hook. Every piece stands on a table, a shelf or a windowsill, which is what separates this list from the hanging ornament crafts and keeps the two from overlapping.
One Link for Everything You Make This Year
A short address you control, holding the photos of each finished piece and the notes on what you would do differently next time.
Before You Start: Wood, Tools and Habits
Where the wood comes from. Log slices are discs cut across a branch or a small trunk; a timber yard, a firewood seller or a garden pruning pile will have offcuts. Fallen branches from a walk work for the twig projects once they have dried indoors for a week or two, because green wood shrinks and cracks as it dries. Craft sticks and clothespins come in bags from any stationery aisle. Corks come from your own kitchen.
The only tools. Sandpaper in two grades (medium to remove roughness, fine to smooth), wood glue, a pencil, scissors and a small brush. Two projects use a hand saw and one uses a hand drill or a small cordless drill. Those steps are marked adult-only. There is no jigsaw and no circular saw anywhere in this list.
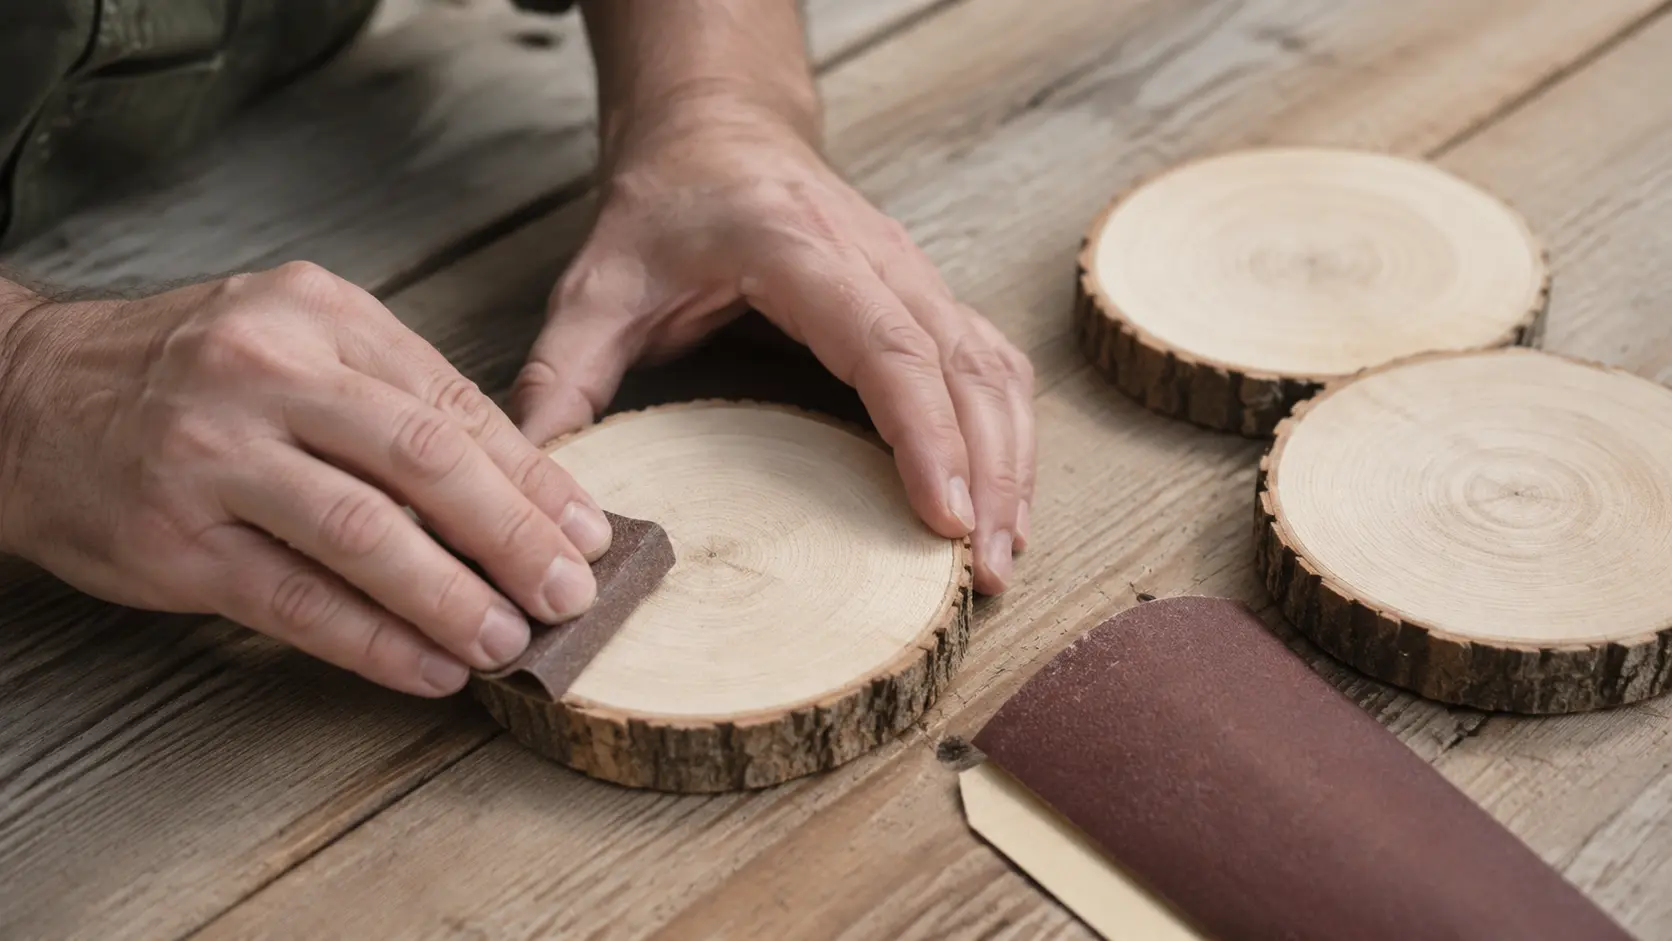
Sanding first, because splinters are the usual injury. Every cut edge of a slice and every end of a branch is sanded before anyone handles it for long. Sand with the grain and stop when a thumb run along the edge catches on nothing. Sanding makes dust, and the US Occupational Safety and Health Administration notes that wood dust becomes a potential health problem when particles from processes such as sanding and cutting become airborne, and that breathing these particles may cause respiratory symptoms. The home version of that: sand by an open window or outside, wipe dust up with a damp cloth rather than blowing it, and keep small children on the painting side of the table.
Hot glue. Wood glue is slower and stronger; hot glue is instant. If you use a glue gun, it is an adult's tool: it rests on its stand, a bowl of cold water stays on the table for a burnt fingertip, and it is unplugged as soon as the last join is done. Children glue with wood glue and wait.
Log Slice Projects
Every slice project starts the same way: sand both faces and the bark edge, wipe off the dust, let any resin spots dry.
1. Log slice place cards. Materials: one coaster-sized slice per guest, fine sandpaper, a white or black paint marker, clear wax or varnish. Sand both faces. Write one name across the smoother face, letting the grain show through, and add a small drawn star or one of the shapes from the easy drawing ideas list if you like. Once the marker is dry, seal with a thin coat of wax or varnish so the ink does not rub off on the tablecloth. Estimated time: about an hour for eight, plus drying. Difficulty: easy. Suggested age: from five with an adult on the sanding; the writing can be a child's.
2. Log slice coasters. Materials: four to six slices of similar size, medium and fine sandpaper, one colour of acrylic paint, a small brush, clear varnish. Sand the faces flat, because a coaster that rocks spills. Paint only the bark edge, or only a band around the top face, and leave the middle bare. Two coats of varnish on the top face make it wipeable; let each coat dry fully before the next. Estimated time: one afternoon, most of it drying. Difficulty: easy. Suggested age: from six with an adult, because varnish needs ventilation and patience.
3. Log slice tealight holder. Materials: one slice at least as thick as a tealight in its cup, a small glass tealight holder or a jam jar, wood glue, sandpaper. The wood never holds the flame directly: the tealight sits inside the glass, and the glass sits on the slice. Sand the slice, glue the glass to the centre, let it set, and add greenery around the base of the glass, never above its rim. The candle rule in the finishing section applies in full, and a flameless LED tealight in the same glass removes the question. Estimated time: thirty minutes plus glue setting. Difficulty: easy. Suggested age: adult project, and only adults handle it while a candle is lit.
4. Log reindeer. Materials: one short log for the body, about a hand long and thicker than a wrist; a smaller log section for the head; four straight twigs for legs; two forked twigs for antlers; a hand drill with a bit close to the twig diameter; wood glue; a painted dot for the nose. Sand the cut ends. Drill four holes into the underside of the body, angled slightly outward, and push the legs in with a dab of glue; trim until it stands without rocking. Drill one hole in the front top of the body and one in the base of the head, and join them with a short twig peg and glue. Drill two holes in the top of the head for the antlers. Paint the nose. Estimated time: one to two hours. Difficulty: medium. Suggested age: drilling adult-only; from seven a child fits the antlers and paints the nose.
5. Log slice card holder. Materials: one slice thicker than two fingers, a hand saw, a clamp, sandpaper. Clamp the slice flat to the table edge, bark side down. Saw two or three parallel cuts across the top face, each about a third of the way into the slice, a finger apart, keeping the free hand behind the blade at all times. Sand the slots so a card slides in without splinters. One Christmas card stands in each slot. Estimated time: forty minutes. Difficulty: medium, only because of the saw. Suggested age: cutting adult-only; a child sands and loads the cards.
Branch and Twig Projects
Dry, straight branches from pruning or a walk. Strip loose bark by hand, cut to length with secateurs (an adult's tool) and sand the ends. Anything twig-shaped that hangs on a string is in the ornament list, not here.
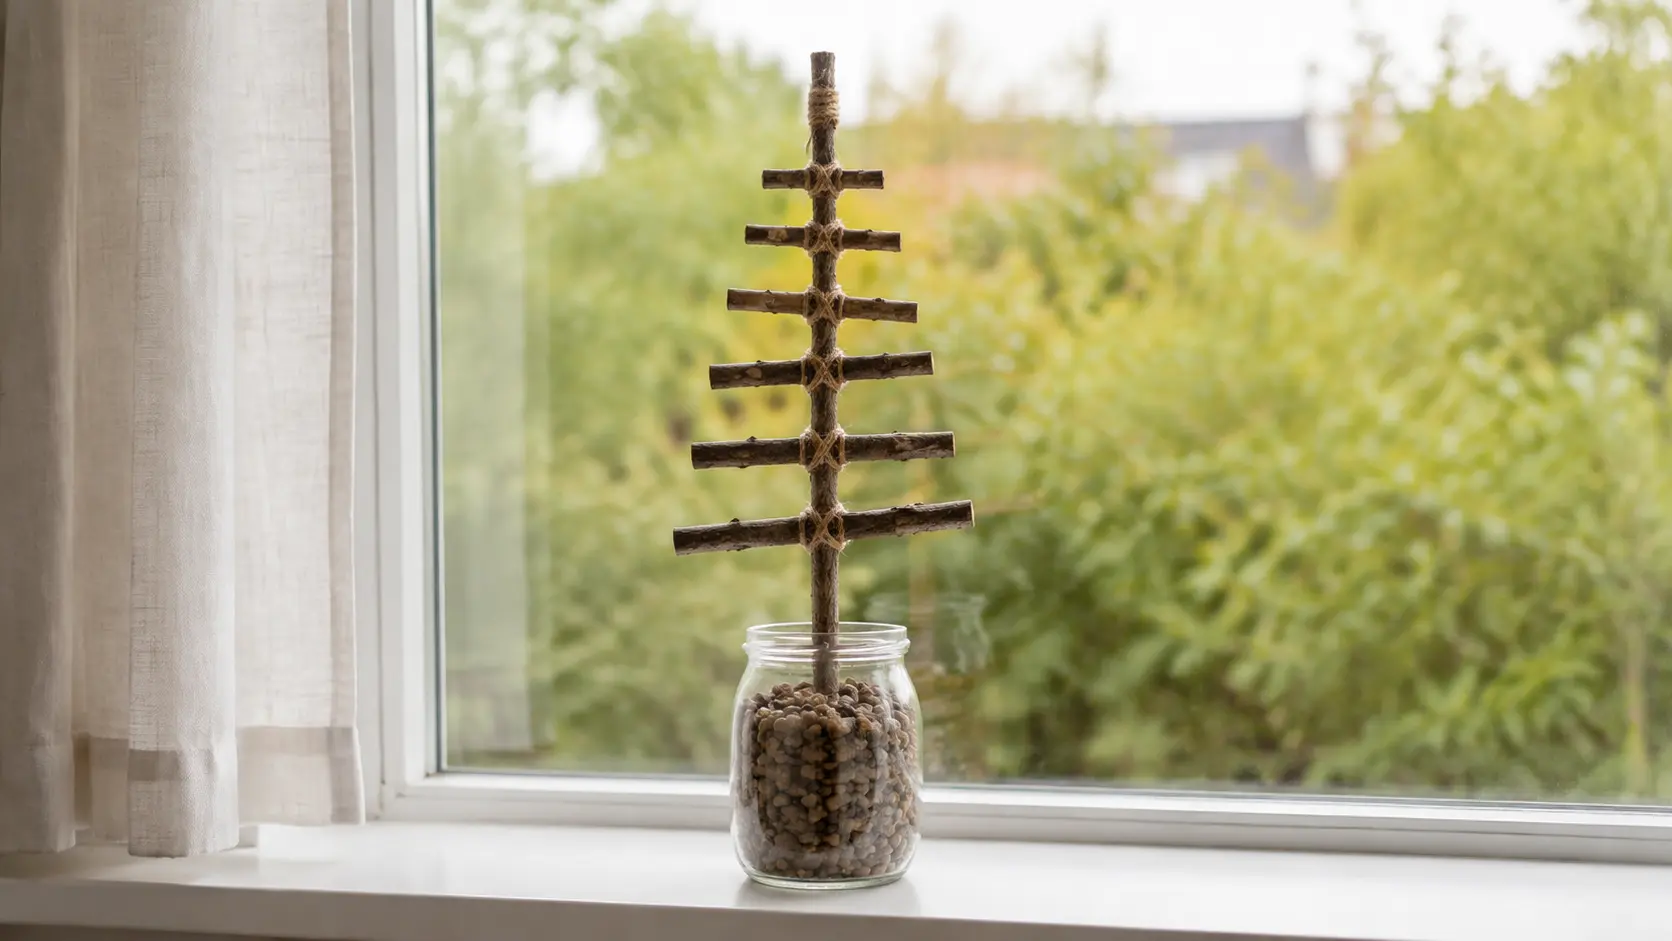
6. Standing branch tree. Materials: one straight branch as the trunk, about a forearm long; eight to twelve straight twigs of decreasing length; a heavy jar or pot; gravel or small stones; wood glue and twine. Stand the trunk in the jar and pack gravel around it until it holds upright on its own. Starting at the bottom, fix the longest twig across the trunk with a dab of glue and a wrap of twine, then the next shortest a hand above it, alternating the direction of each crossing so the tree looks even from the front. Finish with a short twig at the top. Paper stars or dried orange slices can rest on the tiers, but nothing heavy. Estimated time: one hour. Difficulty: easy. Suggested age: from six, with an adult cutting the twigs.
7. Twig stable silhouette. Materials: four straight twigs of similar length for the frame, two shorter for the roof pitch, thin twigs to fill the roof, wood glue, a flat slice or offcut as the base, optional plain wooden pegs or smooth pebbles. Lay four twigs as a rectangle and glue the corners. Glue two twigs from the top corners to meet in a point, then lay thin twigs side by side along the roof and glue them down. Stand the frame on the base and glue the bottom edge. What goes inside is up to the household: a few pebbles, a couple of plain wooden figures, or nothing. It is a silhouette, not a scene, and reads as a stable from across the room. Estimated time: one hour. Difficulty: easy. Suggested age: from five with wood glue and an adult; from ten alone.
8. Twig-edged photo frame. Materials: a rectangle of stiff card or thin plywood a little larger than the photo, twelve to twenty short twigs, wood glue, a scrap of card for a stand. Glue twigs side by side around the edge of the board, overlapping at the corners like a log cabin, leaving the middle open. Glue a triangle of card to the back so it stands. Estimated time: forty-five minutes. Difficulty: easy. Suggested age: from six.
Keep the Ones Worth Keeping
Photograph each finished piece and the person who made it, and keep the set behind one address you can share with family.
Craft Stick and Clothespin Projects
Craft sticks (the flat wooden ice lolly sticks sold in bags) and wooden clothespins are already smooth and uniform, which is why they suit the youngest makers. Check clothespins for splits; a split pin snaps when squeezed.
9. Craft stick fan tree on a cork. Materials: seven to nine craft sticks, one cork, green paint, a small brush, wood glue, a star cut from card. Paint the sticks green and let them dry. An adult cuts the sticks with scissors so each is a little shorter than the last. Glue them one above the other onto a full-length stick trunk, longest at the bottom, so the tree is a triangle. An adult cuts a slot in the top of the cork with a craft knife, and the trunk is pushed in with glue. Glue the star at the top. Estimated time: one hour including drying. Difficulty: easy. Suggested age: from four with an adult doing the cutting; painting and gluing are the child's.
10. Clothespin snowflake coaster. Materials: eight wooden clothespins, wood glue, white paint, clear varnish. An adult removes the spring from each pin with two thumbs, and the springs go straight into a jar out of reach, because they are the only small part in this list. Glue the two halves of each pin back to back so the flat sides face out and the notched ends form a point. Arrange the eight pieces in a circle, points meeting at the centre, and glue the sides together. Paint white or leave bare, and varnish the top so a glass can sit on it. Estimated time: forty-five minutes plus drying. Difficulty: easy. Suggested age: from six.
11. Clothespin village figures. Materials: whole wooden clothespins, a cork or offcut per figure, acrylic paint, a fine brush, scraps of yarn. Stand each pin upright on its base with a dab of glue, head at the top. Paint a coat colour on the body, dot two eyes, tie a scrap of yarn as a scarf. Five or six make a group that stands in front of the block village below. Estimated time: thirty minutes. Difficulty: easy. Suggested age: from four.
Offcut and Cork Projects
Pine offcuts are the one material you may need to ask for at a timber yard. The wooden trees cut from a pine board with a hand saw are in the adult Christmas crafts list and are not repeated here; these projects use offcuts as they come, without shaping.
12. Block village. Materials: five to eight rectangular pine offcuts of different heights, sandpaper, pale paint, a fine brush, a darker colour for windows, optional triangular offcuts for roofs. Sand every face and edge. Paint each block one pale colour and let it dry. With the fine brush, paint a door and rows of small square windows on the front of each block and a few on the sides. Glue a triangular offcut on top as a roof if you have one. Line the blocks up on a shelf, tallest at the back, with the clothespin figures in front. Estimated time: two sessions of an hour, because the base coat dries before the windows go on. Difficulty: easy. Suggested age: from five with an adult sanding; the windows are the part that does not need to be neat.
Cork pyramid tree. Materials: ten to fifteen natural corks (plastic ones do not take glue well), wood glue, green paint, a card star, a small slice as a base. Paint the corks green, or only their ends. Lay four corks side by side on the base and glue them, then three on top, then two, then one, so the stack is a triangle from the front. Glue the star to the top cork. A single cork stood on end with a slit in the top (adult, serrated knife) also holds a folded name card, which pairs with project 1 when there are more guests than slices. Estimated time: forty-five minutes plus drying. Difficulty: easy. Suggested age: from four with wood glue.
Painting, Sealing and the Candle Rule
Paint. Water-based acrylic covers bare wood in two thin coats and cleans off brushes with water. Thin coats dry faster and let the grain show.
Sealing. Anything that meets a table, a glass or a hand repeatedly (coasters, place cards, the card holder) gets a clear coat: wax rubbed in with a cloth, or water-based varnish brushed on. Solvent-based varnishes and sprays are applied outside or by an open window and left there until the smell is gone, and children do not apply them.
Drying. Wood glue needs the time on its bottle; a piece moved early slides apart. Paint that feels dry to a fingertip can still print onto a tablecloth, so painted pieces sit overnight before going out.
The candle rule. Only project 3 involves a flame, and the guidance from two fire services covers it. The US National Fire Protection Association says to keep candles at least 12 inches from anything that can burn, and to blow out all candles before you leave a room or go to bed. London Fire Brigade says to keep candles in heat-resistant holders placed on a stable surface, never to leave them unattended, that tea lights get very hot and without proper holders can melt through surfaces, and that decorations must be kept away from naked flames; it also describes flameless LED candles as the safer alternative. Applied to wood: flame inside glass, glass on the slice, nothing above the rim, and the candle out whenever the room is empty. If a wooden piece is closer than that to any candle, move the piece.
Which One to Make First
With young children and one afternoon: the craft stick fan tree (9) and the clothespin village figures (11). Both use ready-smooth wood, both are mostly painting, and both stand up when finished, which is what a four-year-old wants to see.
With branches and nothing else: the standing branch tree (6). One jar, one trunk, a handful of twigs and some gravel, done in an hour.
With log slices: place cards (1) and coasters (2) first, because they only need sanding and a brush. With an adult, a saw and a free morning: the card holder (5), the piece most likely to come out again every year.
Keep What You Made
One link for the photos, the projects and the notes on which slice, which glue and which paint worked.
FAQ
What wood is best for Christmas crafts?
Whatever you have. Log slices, dry fallen twigs, craft sticks, wooden clothespins, pine offcuts and natural corks all appear above. Softwoods like pine sand fastest. Freshly cut wood may split as it dries, so let branches and slices dry indoors before working with them.
Do I need power tools?
No. Nothing here uses a jigsaw or a circular saw. Two projects use a hand saw and one uses a hand drill, and those steps are adult-only. Everything else is sandpaper, glue and paint.
How do I stop log slices from cracking?
Use slices cut from wood that has already dried, keep finished pieces away from radiators, and seal both faces with a thin coat of wax or varnish.
Can I put a candle on a wooden slice?
Only inside a glass or other heat-resistant holder that sits on the slice, at least 12 inches from anything that can burn, never unattended, and put out before you leave the room. That is the NFPA and London Fire Brigade guidance linked below. A flameless LED tealight avoids the issue.
Which projects can a four-year-old do?
The craft stick fan tree, the clothespin village figures and the cork pyramid tree, with an adult doing any cutting and the child painting and gluing with wood glue. Sanding and hot glue stay with the adult.
Where are the hanging wooden ornaments?
In the ornament crafts list linked at the top. This list is only for pieces that stand, lean or sit on a surface.