

Turn clean jars into Christmas displays and small non-food gifts with paper, ribbon and simple exterior designs. These 14 ideas are grouped by their purpose, so you can prepare one set of supplies for several variations. Choose the decorations first and follow the labels on any paint, adhesive or light you use.
Show Your Handmade Jars From One Link
A VISU Link page can gather the photo album, shop or craft profiles you already use, so friends find everything in one place. Share it with one link or its QR code.
Prepare jars and choose one finish
Use clean, dry jars without chips, cracks or damaged rims. An adult handles glass and checks each jar. If children will handle the project, a suitable non-breakable container can take the place of glass. These are decorative projects, not instructions for canning, food storage, drinkware or bath products.
Start with paper, scissors appropriate to the participants, removable tape and ribbon. For paint or glue, choose a product labeled for your surface and follow its preparation, ventilation, drying and curing instructions. Test a small area; no single overnight drying time works for every product.
For lighted displays, use a flameless option and follow the light manufacturer’s placement instructions. Keep paper and ribbon away from the device and leave the battery compartment accessible to an adult. Do not wrap or hide a battery pack under fabric, close unsuitable lights in a jar or substitute a real candle. The CPSC recommends flameless candles whenever possible.
Four ways to frame a lighted display
- Paper-star jar. Cut a few large stars from paper and attach them to the outside with removable tape, leaving clear spaces. Set the jar beside a suitable freestanding LED light rather than enclosing the light.
- Colour-block jar. Wrap one band of translucent coloured paper around the outside. Keep the top and base clear so the jar still sits flat. Choose one band instead of many overlapping layers.
- Ribbon-window jar. Tie a wide ribbon around the middle with a bow at the back. Turn the undecorated glass toward the viewer and place it in a display with an appropriately positioned LED light.
- Clear-jar trio. Put three empty jars of different heights together on a stable tray. Add one paper star to each and place separate flameless lights according to their instructions. Keep the arrangement away from an edge.
Light is optional in every version. The same jars can sit on a shelf in daylight. Battery compartments need attention even without a flame: CPSC guidance calls for secured compartments and keeping products with accessible button or coin batteries away from children.

Three dry scenes
- Paper winter village. Draw simple houses on a strip of card, cut around the roofline and curve it inside an upright jar. Keep the scene dry and removable.
- Paper forest. Draw trees at different heights on one connected strip of card. Fold the bottom edge into a short support so the strip can stand inside the jar; adjust the strip to your jar’s width.
- Memory jar. Put a copy of a family-approved photo or a drawing inside the glass, facing outward. Keep the original photo elsewhere and add a date to a removable tag.
A dry scene can be taken apart without a leak test or waterproof seal. Do not add water, loose glitter or a glued lid to these versions. For other craft ideas, browse easy crafts for adults and choose materials that suit your group.
One Page for Your Craft Night Links
Hosting a craft night? Put the supply list, the photo album and your social profiles on a VISU Link page and share one address with guests.
Four gifts to fill without food
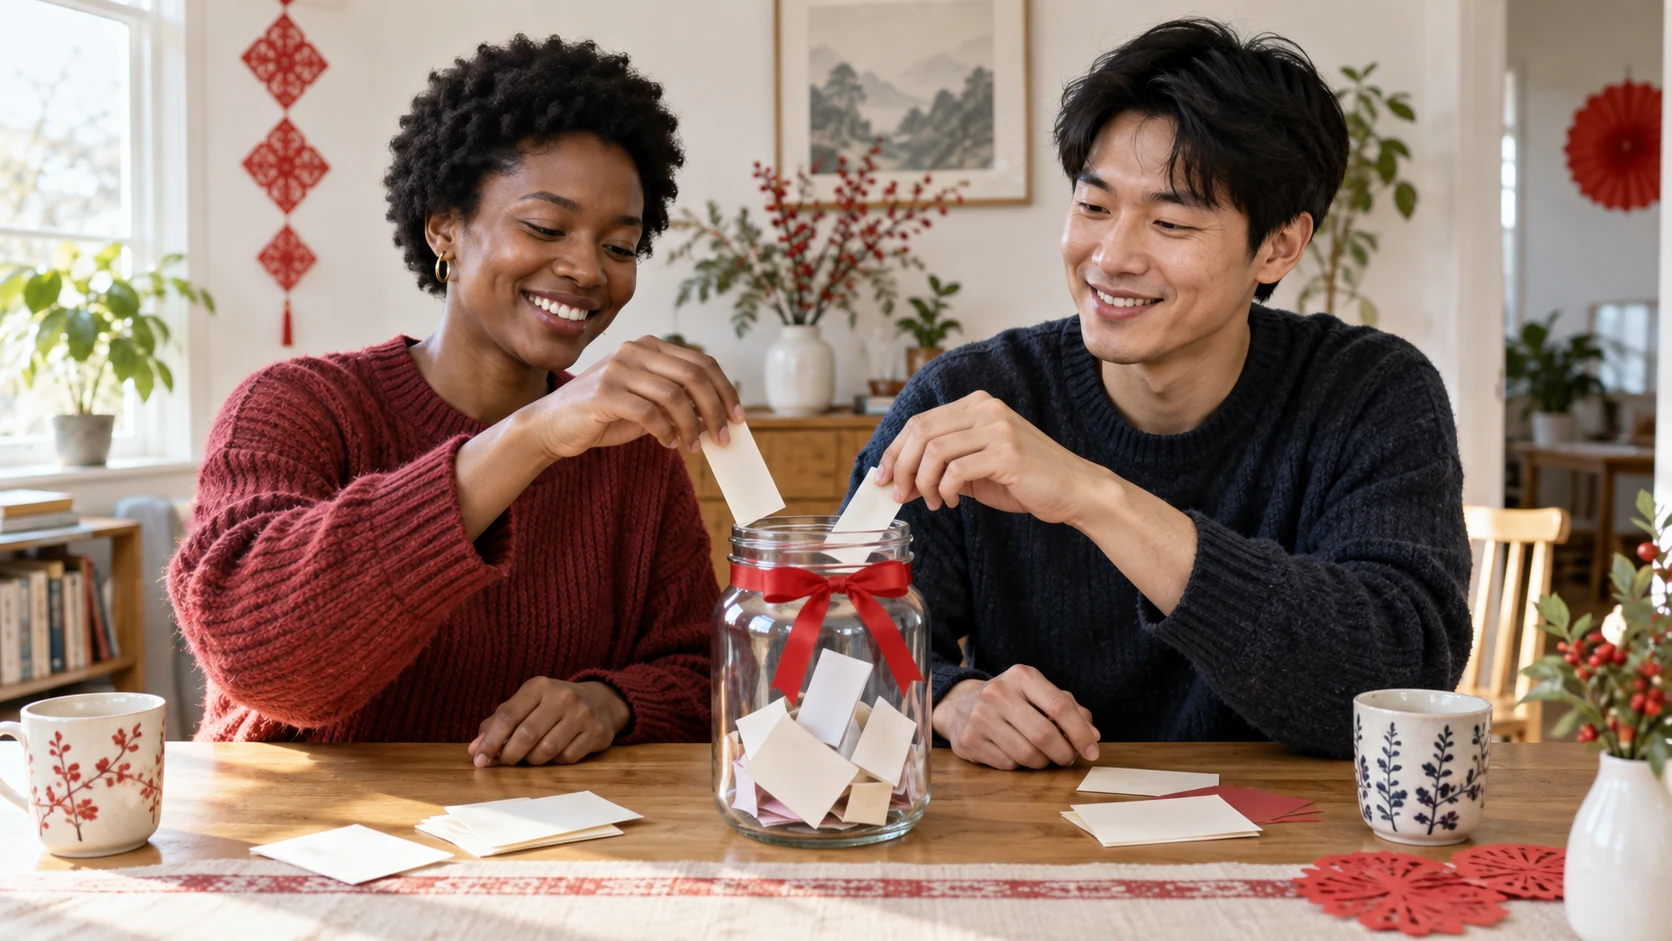
- Message jar. Write short thanks or shared memories on broad paper strips. Fold them loosely and add a tag explaining that the recipient can open one whenever they wish.
- Pencil jar. Add a paper band in the recipient’s preferred colours and fill with full-size pencils. Check that the jar is stable with the pencils inside.
- Gift-card holder. Stand a gift card in its own envelope inside a wide jar. Fill the unused space with folded paper, then add a removable ribbon. Keep any redemption code out of shared photos.
- Paper-craft jar. Fill with large paper shapes and blank gift tags for someone who enjoys making cards. Add a short contents list; do not turn it into a kit of loose miniature pieces for young children.
Ask what the recipient would use before filling a jar. A container is part of the gift, not a reason to include unwanted items. If the jars will be part of an exchange, Christmas gift exchange games covers the separate gift-swapping rules.
Three exterior designs
- Santa-belt pencil holder. Wrap the outside with a red paper band, add a narrow black band and a gold paper buckle. Use tape so you can remove the design later.
- Snowman face. Add a white paper wrap with drawn eyes and a carrot-shaped nose. Tie a short fabric strip around the neck as a scarf. Keep it clear of the base and do not sand the glass.
- Paper-leaf centrepiece. Decorate three jars with the same small paper-leaf motif, changing the colour on each. Keep them empty or use them to hold folded paper place cards.
If you prefer a painted version, use the same design on the outside and follow the product’s instructions. Decorative paint or glue does not establish that the jar is suitable for food, a dishwasher or heating.
Set up a craft table and pack the gifts
Choose one paper-only option for people who want to finish without waiting for paint or glue. Make a separate drying area for wet finishes and keep product labels available. Do not promise everyone can take a freshly painted jar home immediately.
- Put washed, checked containers at one end of the table.
- Keep paper, removable tape and ribbon together.
- Let an adult handle glass placement and any battery compartment.
- Use a stable display spot away from edges and heat.
- Pack each finished jar so it cannot knock against another during transport.
Include a tag with the intended use, such as “paper decorations” or “pencil holder.” Store paper designs dry and check the jar and any light again before reusing them next season.
Keep Your Holiday Links in One Place
VISU Link gives you a shareable visu.to/<username> page for the albums, profiles and shop links you choose to make public.
Frequently Asked Questions
Can I use an ordinary reused jar?
Use a clean, dry jar with no chips, cracks or damaged rim for decoration. Choose a suitable non-breakable container when participants need that option.
Can I put a real candle inside?
These ideas use no flame. Use a suitable flameless light only as its manufacturer allows, keeping paper and ribbon away from the device.
How long does the paint or glue take to dry?
Follow the exact product label for preparation, drying and curing. Different products and coats do not share one reliable drying time.
Are these jars suitable for food or drinks?
These are decorative and non-food projects. Paint, glue or a reused container does not establish food-contact, dishwasher or heat suitability.
Can children join the craft session?
Match materials to the participants and let an adult handle glass and batteries. A non-breakable container and paper-only design are alternatives.
Do I need water or glycerin for the scenes?
No. The village, forest and memory jar are dry, removable scenes. They do not require a waterproof seal or liquid filling.