
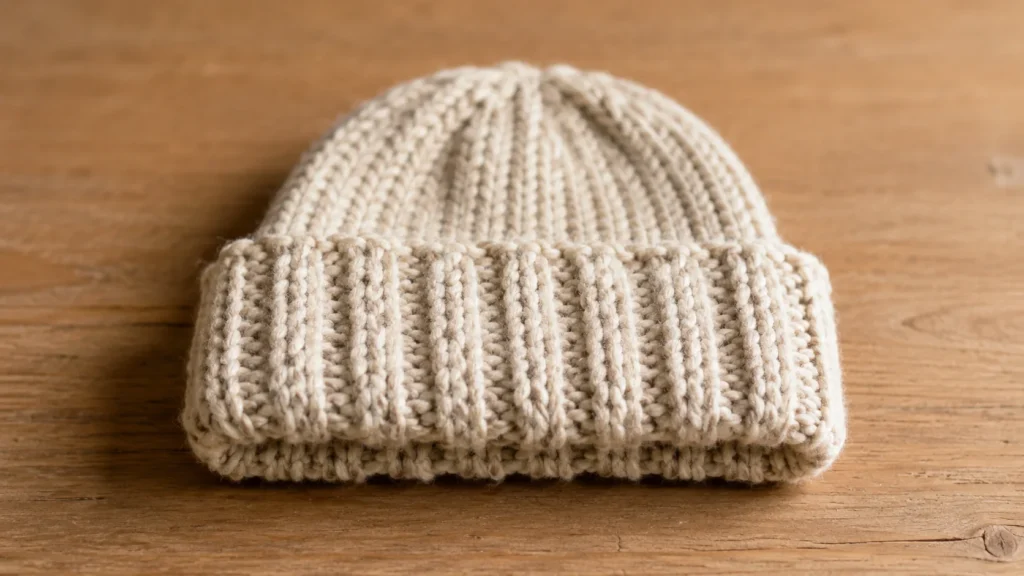
The Weekend Rib Beanie: a complete, free hat pattern worked flat on ordinary straight needles and closed with one straight seam. Only knit and purl, no shaping, no circular needles, about 2,940 stitches in bulky yarn, and every number below was calculated and verified against the Craft Yarn Council's published standards.
This is the third project in our knitting series. If you have never held needles, start with the easy knitting patterns for beginners hub, which teaches every abbreviation used here in full. If you want a project with no seaming at all, the beginner scarf is the sibling with no shaping and no sewing; this hat trades 420 rows of patience for one evening of new skills.
One Link for Everything You Make
A short address you control, pointing to your projects, your pages and everything else you share.
What You Will Make
A snug adult beanie with a folded two by two rib brim and a smooth body: 8.4 in / 21.3 cm tall before folding, with a worn circumference of 19.43 in / 49.3 cm that stretches to fit adult heads from 21 to 24 in / 53 to 61 cm. It is worked flat, as one rectangle, on ordinary straight needles, then seamed up the back with one straight seam. That removes the objection most beginners bring to hats: no circular needles, no double points, no working in the round.
The honest time expectation: a weekend. The whole hat is about 2,940 stitches in bulky yarn, against roughly 12,180 for the beginner scarf. A knitter who stalled halfway down a 420-row scarf can finish this, and finishing is what turns a beginner into a knitter.
This is an original beginner pattern written for this article: The Weekend Rib Beanie. It uses only knit and purl. No increases, no decreases, no shaping anywhere.
What You Need
Yarn: bulky weight, Craft Yarn Council category 5. Pick a smooth, light-colored, plied yarn: stitch definition is what lets you see which column is a knit and which is a purl, and in ribbing that matters more than in any other fabric. Avoid dark, fuzzy and novelty yarns for this one. Wool or a wool blend is the right call here, because ribbing depends on elasticity; a rib brim in 100% cotton relaxes with wear and the hat loosens.
Quantity: the hat uses approximately 107 to 131 yd / 98 to 120 m. Buy one skein of at least 150 yd / 137 m. One skein finishes the whole hat, which means no dye-lot matching, a genuine advantage over bigger projects.
Needles: 6.5 mm (US 10 ½), straight, at least 10 in / 25 cm long. Go by the metric size: the US numbering is ambiguous in this range, since both 6 mm and 5.75 mm are also sold as US 10 in the Craft Yarn Council conversion table. The category 5 standard calls for needles between 5.5 and 8 mm, so 6.5 mm sits comfortably mid-range.
Notions: scissors, a tapestry needle and a tape measure. Nothing else. No stitch markers, no row counter, no cable needle.
Gauge, and Why the Rib Is Not What You Measure
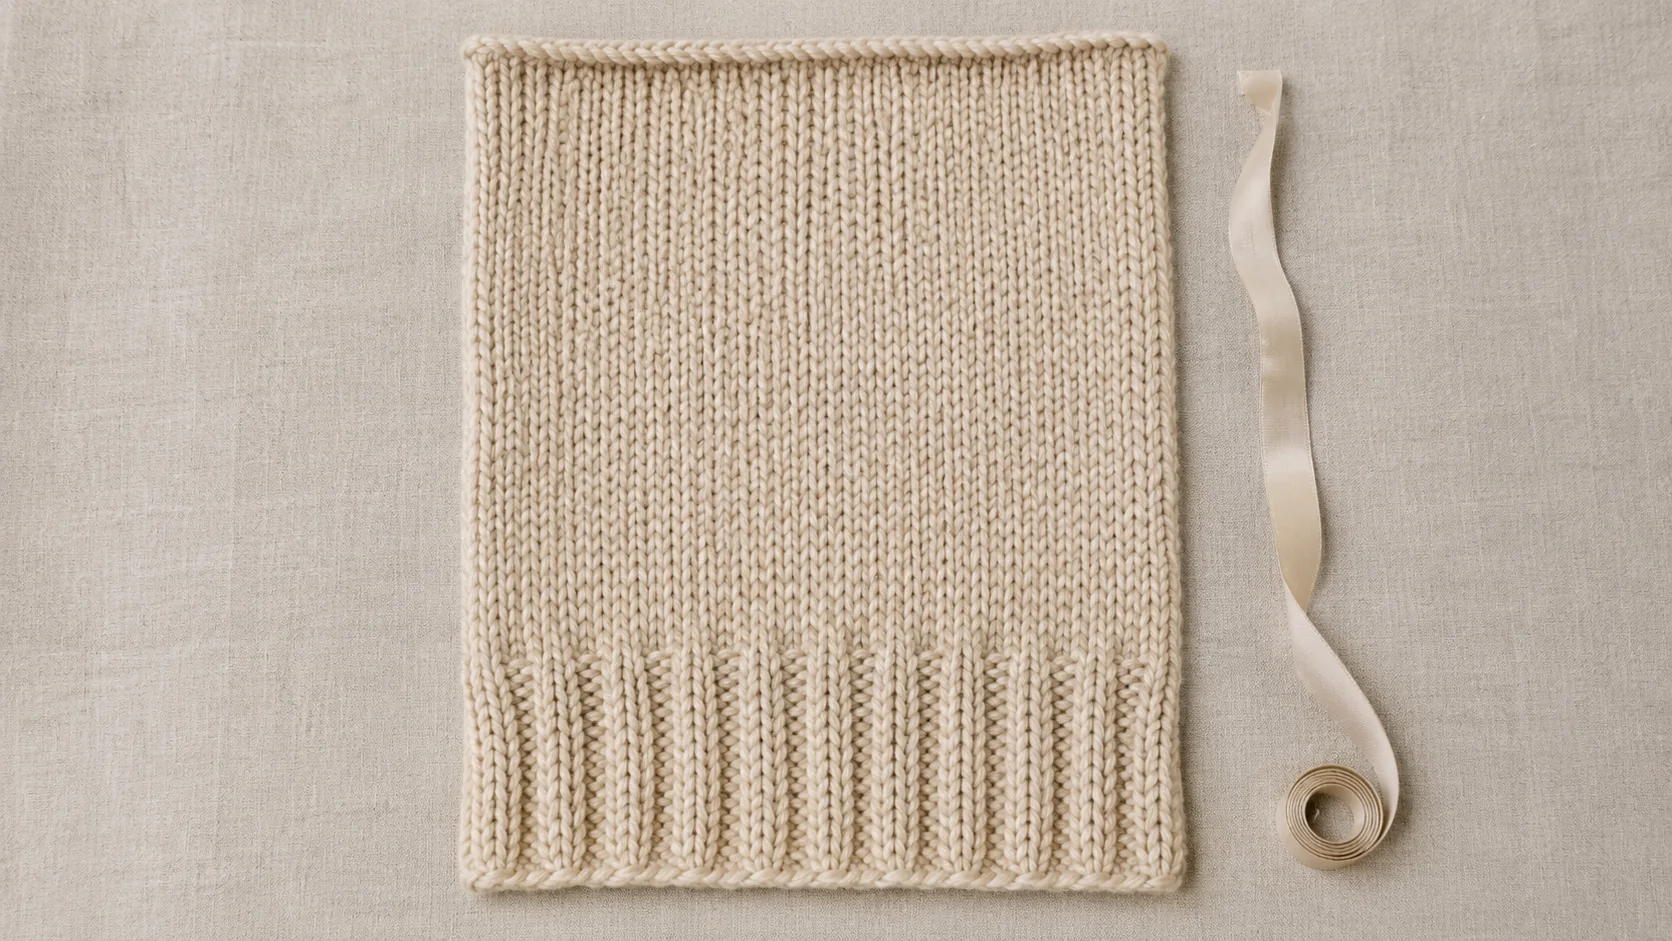
Gauge: 14 stitches and 20 rows = 4 in / 10 cm in stockinette on 6.5 mm needles, unstretched.
Measure this gauge in stockinette, not in the rib. Ribbing pulls in sideways and has no stable unstretched width to measure, so a rib gauge is not a usable number. The body of this hat is stockinette, the cast-on is calculated from the stockinette gauge, and the rib brim is allowed to pull in on its own; that pulling in is what grips your head.
Two honest notes on where these numbers come from. The stitch gauge of 14 sts per 4 in falls inside the category 5 standard range of 12 to 15 and is our chosen value within that range. The row gauge of 20 rows per 4 in is a design input with no external source, because the Craft Yarn Council publishes no row gauge for any category; every row count in this pattern depends on it, so confirm it with your swatch.
The swatch: cast on 26 stitches, work stockinette (knit the right-side rows, purl the wrong-side rows) for 5 in / 12.5 cm, bind off loosely, and measure across the middle 4 in, never at the edges. Gauge matters less here than on a scarf because ribbing forgives, but it is not free: at 12 stitches per 4 in instead of 14, the same 70 stitches produce a hat over 3 in too big. Swatch.
How a Hat Fits: Negative Ease in One Minute
The hat measures less than your head on purpose. That is called negative ease, and it is what keeps a hat on. The Craft Yarn Council's head circumference chart puts adult women at 21 to 23 in / 53 to 58.5 cm and adult men at 22 to 24 in / 56 to 61 cm. Worn, this beanie measures 19.43 in / 49.3 cm, so the rib stretches by 1.57 to 4.57 in / 3.7 to 11.7 cm depending on the head. Every adult head in the chart is bigger than the hat, and that is exactly right.
This is also why one cast-on number covers the whole adult range instead of needing a size table: two by two rib relaxes narrow and stretches wide. The rib converts the fit problem into a stretch problem, and stretch is what rib does best. So when you compare the finished measurement to your own head and the hat comes up smaller, nothing is wrong. It is supposed to be.
The Abbreviations in This Pattern
Only seven, all US convention: CO cast on, K knit, P purl, st / sts stitch / stitches, rep repeat, RS / WS right side / wrong side, BO bind off. The asterisk * marks the start of a repeated section: "rep from *" means go back to the asterisk and work that sequence again. The full decoded table lives in the beginner knitting hub.
This pattern uses US terms throughout. If you learned from British sources, read "bind off" as "cast off" and "gauge" as "tension"; those equivalents are common convention (the Craft Yarn Council's own term table records them as Canadian usage, and British usage happens to coincide).
Show Off the Finished Hat
Collect your projects on one page and share a single short link with anyone.
The Pattern
At a glance: CO 70 · 6.5 mm needles · 14 sts per 4 in · one 150 yd skein · 42 rows · one seam.
The hat is worked flat, as one rectangle, then closed into a tube with a single seam that runs from brim to crown and sits at the back of the head.
Cast on 70 stitches. Use the long-tail cast on if you know one; the tail needs roughly three times the finished width, so about 60 in / 152 cm, plus margin.
The stitch map, once, so the numbers make sense: your 70 stitches are 1 edge stitch, then 17 repeats of K2 P2 (68 stitches), then 1 edge stitch. 1 + 68 + 1 = 70. The two edge stitches are not part of the rib; they disappear into the seam later, which is why the rib pattern will run unbroken around the finished hat.
BRIM, rows 1 to 14 (2x2 rib):
Every row (RS and WS alike): P1, *K2, P2; rep from * 17 times, K1. (70 sts)
Both sides are worked with this same row. Because of the asymmetric edge stitches, the knit columns stack on knit columns and the purl columns on purl columns without you tracking which side you are on. Work 14 rows; the brim measures 2.8 in / 7.1 cm.
BODY, rows 15 to 42 (stockinette with a firm edge):
RS rows (odd): knit all 70 sts.
WS rows (even): K1, purl to last st, K1. (70 sts)
The single knit stitch at each end of the wrong-side rows gives the body a firm, non-curling edge that is much easier to seam than a plain stockinette edge. That is a deliberate design choice, and it is the reason the seam on this hat is beginner-achievable. Work 28 rows, ending after a WS row. The body measures 5.6 in / 14.2 cm; the total piece is 42 rows, 8.4 in / 21.3 cm.
One thing to expect: the stockinette body will curl at the edges while you work. That is what stockinette does, it is not a mistake, and it stops mattering entirely once the seam is sewn. On a flat scarf that curl would ruin the project, which is exactly why our scarf pattern uses a different fabric; inside a seamed tube it is harmless.
CROWN. Do not bind off.
🔴 Read this twice, because it is the one instruction that cannot be undone: do not bind off. Cut the yarn leaving a tail of about 60 in / 152 cm. Thread the tail on your tapestry needle and slide it through all 70 live stitches, lifting them off the knitting needle as you go. Pull the tail firmly to gather the top closed, like a drawstring. Do not cut this tail; it becomes your seaming yarn. If the tail runs short while seaming, join a new length of the same yarn and keep going. A hat that was bound off cannot be gathered, and there is no way back.
SEAMING. Bring the two side edges of the rectangle together, right sides facing, so the piece forms a tube. Do not fold it in half: you are rolling it into a cylinder, and the two edges that meet are the long edges you knitted along, each 42 rows tall. Using the same tail, sew those edges together from crown to brim with a whip stitch or a simple running back stitch, taking one edge stitch from each side into every stitch of the seam. Those are the edge stitches from the stitch map, and consuming them is what lets the rib close cleanly: 70 minus 2 = 68 = 17 full K2 P2 repeats around the tube.
Turn the hat right side out. Weave the remaining tail in along the inside of the seam for at least 2 in / 5 cm and trim. Weave in the cast-on tail the same way.
FINISHING. Fold the rib brim up by half, about 1.4 in / 3.6 cm, so it sits double at the forehead. Blocking is optional; if the crown gathers unevenly, a light steam and a reshape over a bowl or balloon evens it out. Do not stretch the brim while blocking. It is supposed to be tight.
Easy variations: for a slouchy version, work 10 more body rows (38 instead of 28) for about 2 in / 5 cm of extra height; that adds roughly 700 stitches and pushes the yarn estimate past a 150 yd skein, so buy a larger skein or a second one. For a deeper folded brim, work 20 brim rows instead of 14 for a 4 in / 10.2 cm brim that folds to a double 2 in cuff, and reduce the body to 22 rows to keep the total at 42. For stripes, change color at any row boundary in the body, not in the rib: a color change inside ribbing shows as broken dashes on the purl columns rather than a clean line.
If Your Gauge Does Not Match, and Fixing What Goes Wrong
If your swatch disagrees with the pattern gauge, recalculate the cast-on instead of forcing it:
Cast-on stitches = desired circumference in inches x (your stitch gauge / 4). Round to the nearest whole number, then add 1 repeatedly until (cast-on minus 2) divides evenly by 4.
The minus 2 is not optional. Two stitches are consumed by the seam, and if the remaining stitches are not a multiple of 4, the rib does not line up where the seam closes and a visible flaw runs up the back of the hat. Worked examples, all against a 20 in target:
| Your gauge (sts / 4 in) | Raw | CO | Rib sts (CO−2) | Repeats | Worn circumference |
|---|---|---|---|---|---|
| 12 sts | 60 | 62 | 60 | 15 | 20 in / 50.8 cm |
| 14 sts (pattern gauge) | 70 | 70 | 68 | 17 | 19.43 in / 49.3 cm |
| 16 sts | 80 | 82 | 80 | 20 | 20 in / 50.8 cm |
For rows, round to the nearest whole number and, if the result is odd, add 1, so every section ends after a WS row. Apply the rule to the brim and to the total; the body is always total minus brim, never calculated directly:
| Your row gauge (rows / 4 in) | Brim rows | Body rows | Total | Actual height |
|---|---|---|---|---|
| 16 rows | 12 | 22 | 34 | 8.5 in |
| 20 rows (pattern gauge) | 14 | 28 | 42 | 8.4 in |
| 24 rows | 18 | 32 | 50 | 8.33 in |
Looser gauge also means more yarn: at 16 sts per 4 in the cast-on rises to 82 and yarn use rises with it, so buy the larger skein, or a second one, if your gauge is looser than the pattern's.
The failure modes, and the fix for each:
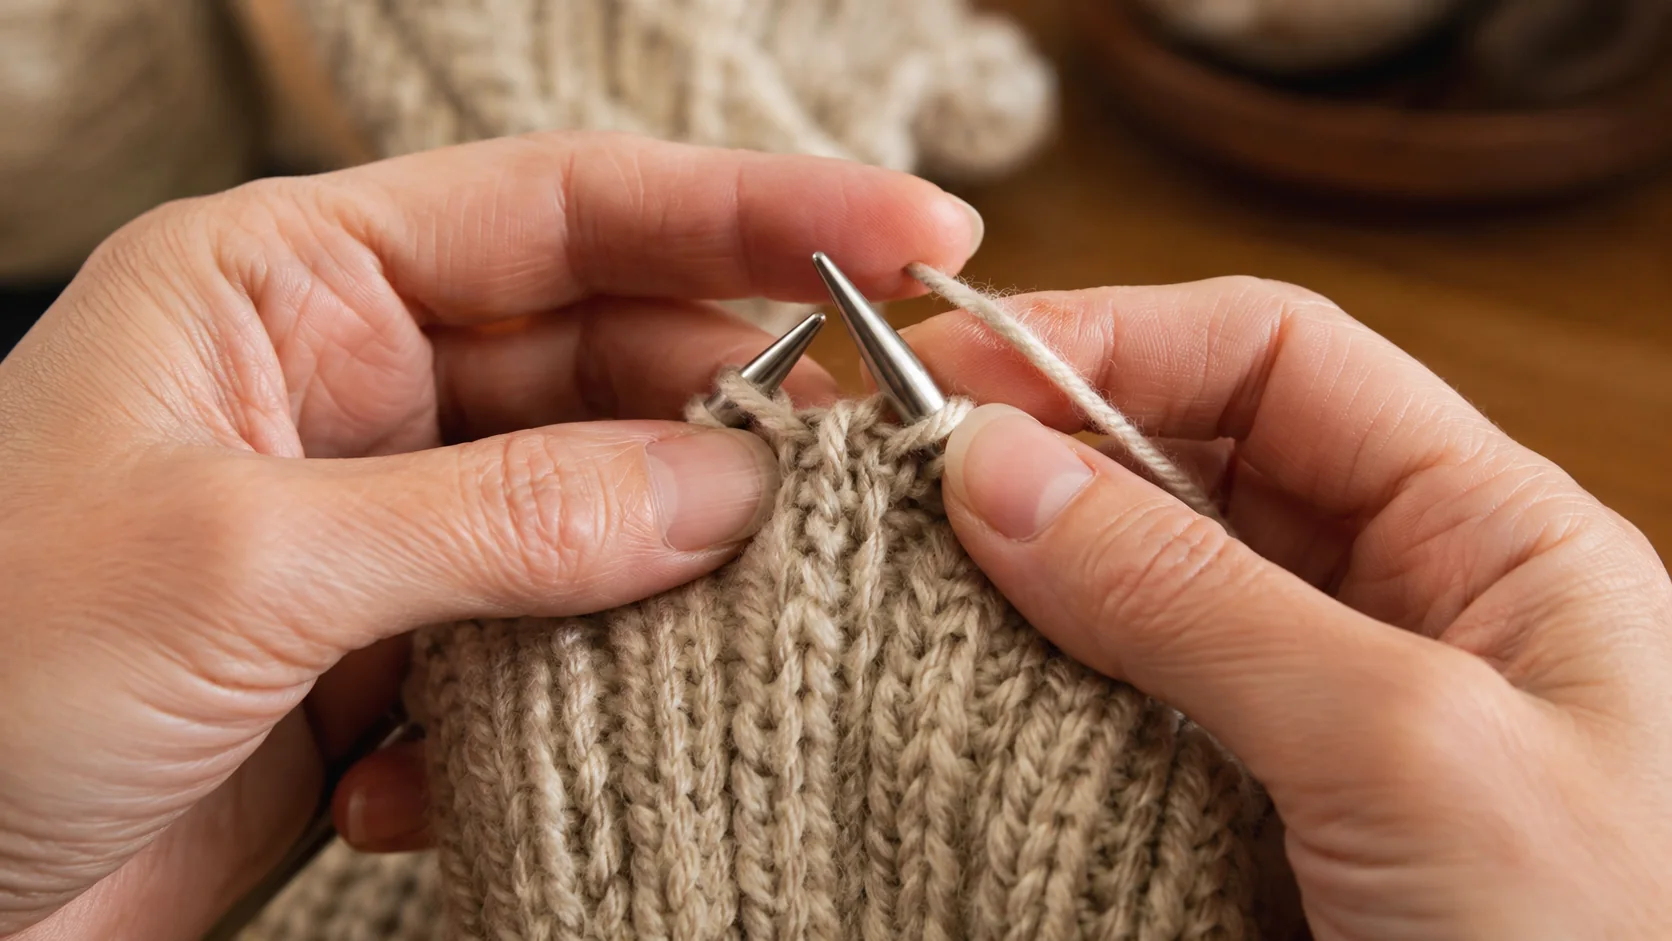
The rib columns drift or turn into a mess. The commonest rib error: the yarn stayed at the back when moving from a knit to a purl. Between a knit and a purl the yarn moves between the needles, not over them. Yarn over the top creates an accidental extra stitch and your count climbs above 70.
The rib does not line up at the seam. The cast-on minus 2 was not divisible by 4. This is not fixable after the fact, which is why the formula carries the minus 2 and why counting the cast-on twice is worth the minute.
The hat is too big or too loose. Almost always gauge: too few stitches per inch means a bigger hat. Ribbing absorbs a lot, and the fix next time is a smaller needle, not fewer stitches.
The crown has a hole in the middle. The gathering tail was not pulled tight enough, or it skipped stitches. Run the tail through the same stitches a second time before seaming and pull again.
The seam is bulky or visible. Take exactly one edge stitch from each side, no more, and seam with the same yarn.
Counting to 70 keeps going wrong. Count in groups of 4 by rib repeat, which is faster and self-checking: 17 repeats plus 2 edge stitches.
When the hat is done, the hub has the next project waiting, and the scarf pattern is there if you want a long, meditative follow-up with no seams at all.
One Page for Every Project
Your patterns, your progress photos and everything else you share, behind one short link.
FAQ
Can I really knit a hat without circular needles?
Yes. This pattern is worked flat on straight needles as one rectangle and closed with a single straight seam up the back. A vertical seam on ribbing is the easiest seam in knitting because the columns align themselves.
What size head does this hat fit?
Adult heads from 21 to 24 in / 53 to 61 cm, the full adult range in the Craft Yarn Council's head circumference chart. The hat measures less than the head on purpose; the rib brim stretches to fit, which is what holds it on.
Why does my knitting curl at the edges?
Because the body is stockinette, and stockinette curls. It is expected, it is not a mistake, and it stops mattering once the seam is sewn and the crown is gathered. Only the brim's ribbing and the body's edge stitches are designed to lie flat.
What happens if I bind off at the top?
You get a tube instead of a hat, and there is no way to gather a bound-off edge. The crown must be closed by threading the yarn tail through the live stitches and pulling them together like a drawstring, which is why the pattern says, twice, do not bind off.
How much yarn do I need?
The hat uses an estimated 107 to 131 yd / 98 to 120 m of bulky category 5 yarn. Buy at least 150 yd / 137 m; the estimate is a convention, not a guarantee, and a looser gauge or the slouchy variation uses more.