

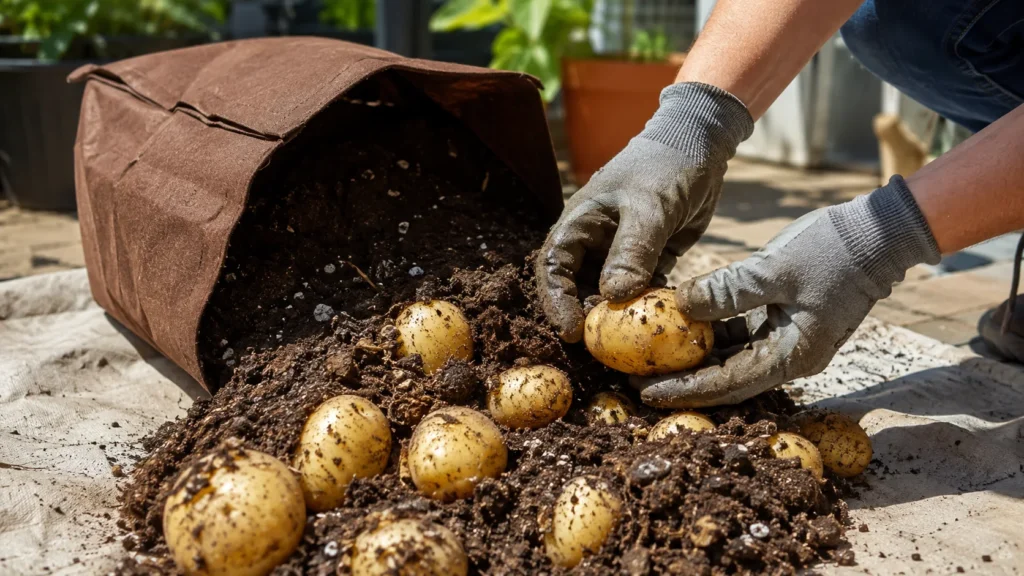
Potatoes are the crop that makes containers feel like a magic trick. You bury a few chunks of seed potato in a deep pot, pile on soil as the plants climb, and months later tip the whole thing over into a pile of dinner. No digging, no guessing, no fork through a prize tuber.
Container potatoes fail for three predictable reasons: grocery-store potatoes instead of certified seed, a pot too small to feed a hungry plant, and tubers left near the surface where light ruins them. All three are decided before and during planting, which is what this guide walks through, from choosing seed potatoes to the day you dump the pot.
One Link for Everything You Grow
A short address you control, pointing wherever your garden photos and notes already live.
Why Potatoes and Pots Get Along
In the ground, potatoes ask for loose, deep, well-drained soil and a gardener willing to dig carefully at harvest. A container delivers the first part by definition: potting mix is loose and drains, and nothing below the surface fights the tubers for room.
The container also solves the harvest problem completely. Instead of hunting through a bed with a fork, hoping not to spear anything, you tip the pot into a wheelbarrow or onto a tarp and pick your potatoes out of the loose mix by hand. For a small space, one or two big containers of potatoes are among the most satisfying crops there are.
The trade-off is the usual container deal: everything the plant gets, you provide. Water, nutrients and enough soil volume all come from you, and potatoes ask for more of each than most vegetables.
Seed Potatoes, Not Grocery Potatoes
Start with certified disease-free seed potatoes from a garden center or seed supplier. Grocery potatoes are the tempting shortcut and the classic mistake: they can carry diseases invisibly, and many are treated to stop sprouting, the exact thing you need them to do. Certified seed stock is inspected specifically so you start clean.
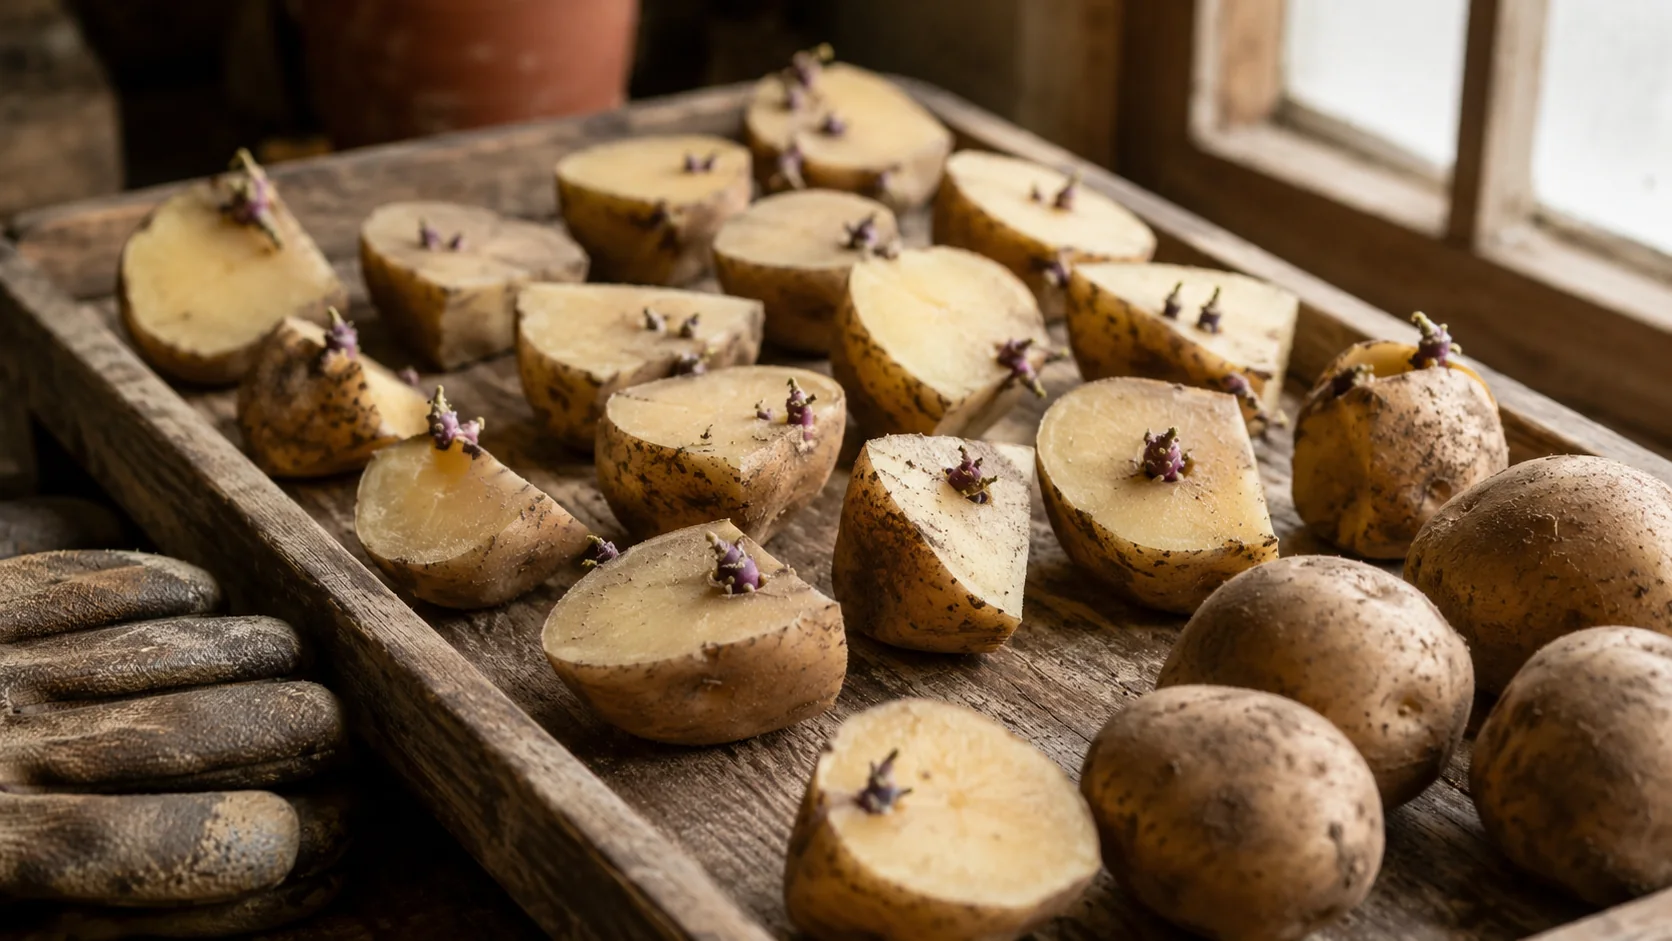
Small seed potatoes can go in whole. Larger ones get cut into chunks of at least 2 ounces (about 60 grams), each with one or more eyes, the small dimples that sprout; two or three eyes per piece is better. After cutting, let the pieces sit at room temperature for a few days until the cut faces dry and toughen into a protective skin. That small ritual keeps the piece from rotting in moist mix before it ever sprouts.
The Container and the Mix
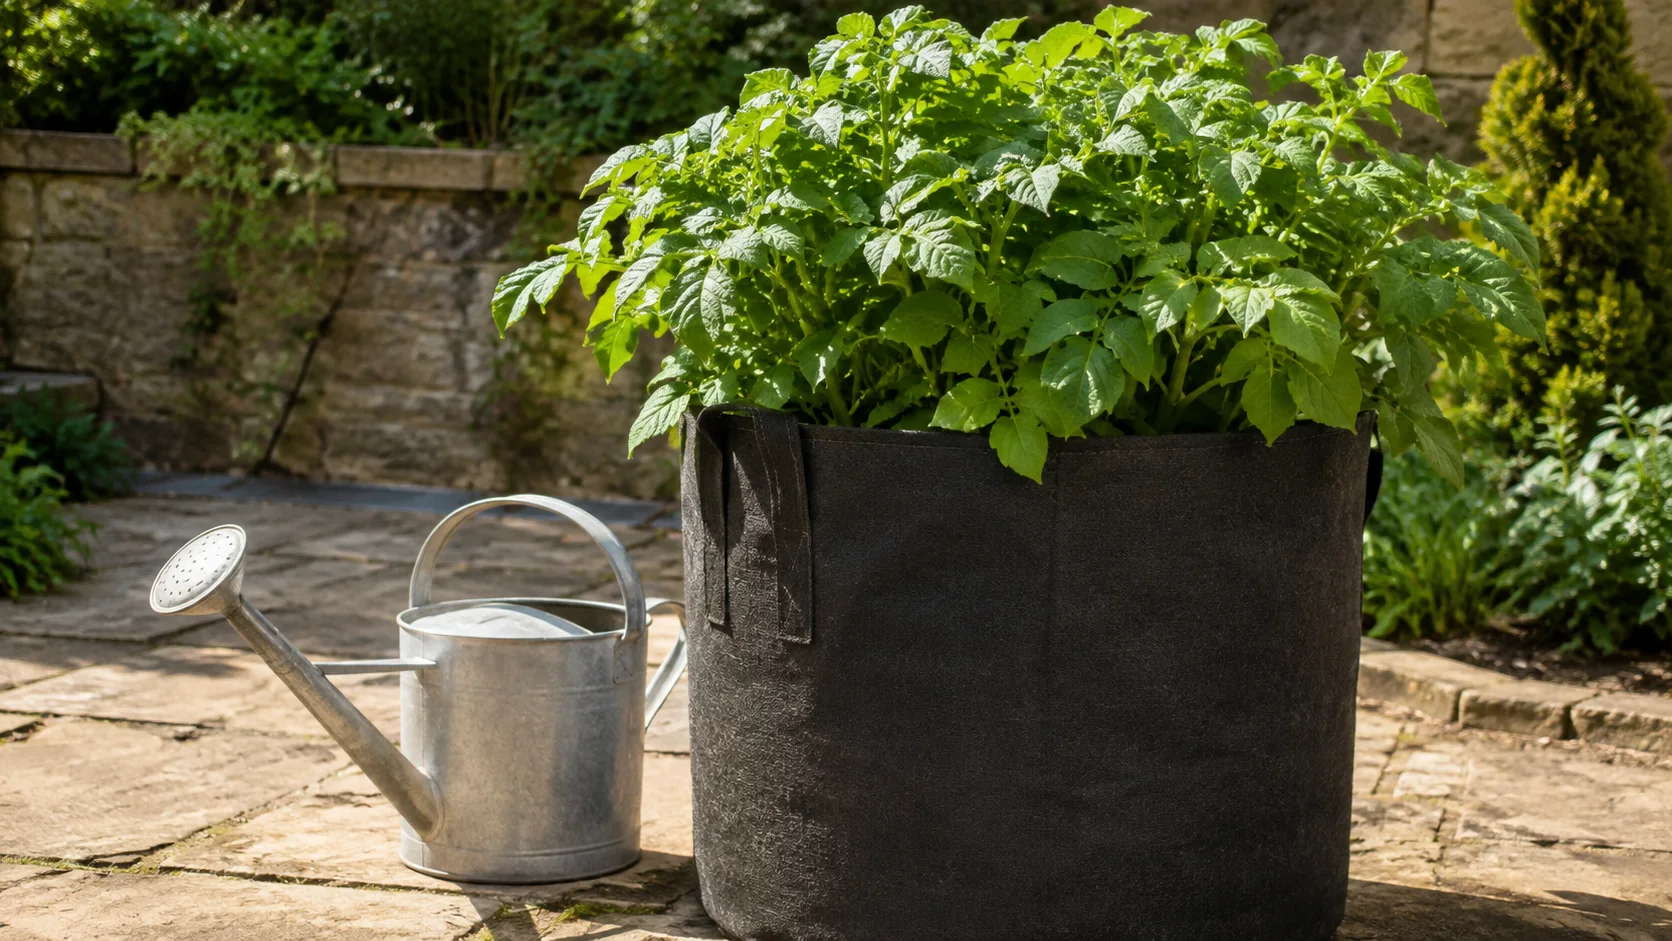
Think big and think deep. Hilling, the move that makes potatoes produce, needs vertical room, so pick a container in the 10 to 15 gallon range or larger: a fabric grow bag, a plastic trash can with drainage holes drilled, a half barrel, or a purpose-made potato bag with a harvest flap. A standard flowerpot is too small for more than a token crop.
Fabric grow bags deserve their popularity here. They are cheap, they drain freely, roots stay healthier at the edges, and at harvest you can simply upend or even cut them open.
Fill with quality potting mix, never garden soil, the same rule as every pot in the container gardening basics guide. Drainage holes are non-negotiable: a waterlogged pot rots seed pieces and tubers alike.
Planting and Hilling: The Core Move
Start the container with only 15 to 20 centimeters (about 6 to 8 inches) of mix in the bottom. Set the seed pieces on it cut side down, eyes up, roughly 25 to 30 centimeters apart, three to five pieces in a large container, and cover them with about 10 to 15 centimeters (4 to 6 inches) of mix.
Then comes the move the whole method turns on: hilling. When the green shoots stand about a hand's height above the surface, bury the lower half of the stems with fresh mix. Repeat every time the plants gain height, until the container is full. The buried stem sections produce additional roots and, crucially, keep every tuber deep in the dark.
Keep Your Garden Notes in One Place
Link your progress photos, variety names and sources from one short address.
The dark matters more than it sounds. Tubers that sit in light turn green and bitter, and green potatoes should not be eaten. Hilling is not a bonus technique; it is the difference between a container of potatoes and a container of disappointment.
Sun, Water and Feeding
Sun: potatoes want a genuinely sunny spot. Give the container the sunniest position available, six hours of direct sun or more; the leaves upstairs are what grow the tubers downstairs.
Water: in the ground, potatoes like a thorough soak once or twice a week. A container dries far faster, so check daily with a finger and water deeply whenever the top of the mix has dried, until water runs from the drainage holes. Steady moisture matters most while the plants are flowering, which is when tubers are forming below. Wild swings between soaked and bone dry show up later as knobby, cracked or hollow potatoes.
Feeding: potatoes are heavier feeders than most vegetables, and a container's nutrients wash out with every watering. Mix a balanced slow-release fertilizer into the potting mix at planting and supplement with a diluted liquid feed every couple of weeks while the plants are growing hard.
Harvest: The Best Part
There are two harvests hiding in one container. New potatoes are tubers taken early, before their skins have thickened, small, thin-skinned and best eaten within days. Once plants have flowered, you can reach into the mix and steal a few while the plant keeps growing.
For the main harvest, wait until the plants yellow and die back, then stop watering for a week or so and let the mix dry. Then the container moment: tip the whole pot over onto a tarp and pick your crop out of the loose mix by hand. No fork, no stabbed tubers, no guessing.
Potatoes you want to store need to cure: keep them out of light in a ventilated spot for ten days or more so the skins toughen fully. Cured, cool and in the dark, they keep for months. And do not save your own tubers as next year's seed; start each season with certified stock so diseases never get a foothold in your pots.
Share the Harvest, Not Ten Different Links
One VisuLink holds your garden gallery, your favorite guides and everything else you share.
FAQ
Can I grow potatoes from grocery store potatoes?
It sometimes works and is still the wrong bet. Store potatoes can carry diseases invisibly and are often treated to suppress sprouting. Certified disease-free seed potatoes are inexpensive and inspected to start you clean.
How big does a potato container need to be?
Ten to fifteen gallons or larger, and deep, because hilling needs vertical space. Fabric grow bags, half barrels and drilled trash cans all work; a standard flowerpot does not hold enough mix for a real crop.
Why do I keep hearing about hilling potatoes?
Buried stem sections root and keep tubers deep in the dark. Tubers that reach light turn green and bitter, and green potatoes should not be eaten. Start with a partly filled container and add mix as the plants climb.
When are container potatoes ready to harvest?
New potatoes can be picked once plants have flowered. For the main storage harvest, wait for the plants to yellow and die back, let the mix dry, then tip the container over and collect everything.
Can I reuse the potting mix after harvesting potatoes?
Not for potatoes or their relatives like tomatoes and peppers, which share diseases. Spent mix is fine refreshed for unrelated crops such as lettuce or herbs, or added to a compost pile.